Map Contact

Contact and Deployment

“Map Contact” is the second of six parts of “Contact and Deployment” in the Valormr Campaign.

When two or more opposing commanders occupy adjacent hexes, they are said to be in map contact. The terrain between them is a potential battlefield.

Half Periods: Contact is considered to occur within a half-period: morning, afternoon, evening, or night.1 In terrain where forces move only one hex per day, it is the last half of the period. For example, in the afternoon for diurnal movement.

Moves First: All strategic moves for the period are completed before any map contacts are resolved. In the event of map contact in the first half period, the involved forces, assuming they have move points remaining, may continue movement after contact is resolved, whether by evasion or engagement.

Fight on the Morrow: At any time prior to the deployment phase, all commanders may agree to rest.2 In that case, the forces are no longer in map contact for the remainder of the half period. Forces are again in map contact at the beginning of the next half period. If either one of two commanders disagrees, the contact phase begins.

Avoid Contact: A commander may avoid contact in the hex if he or she has enough move points to proceed immediately into another hex. This decision is made and resolved prior to the contact phase. A dice throw is required, and the operation is not without risks. Avoiding contact is treated, along with similar operations, in an upcoming article “Avoid, Evade, Delay, and Withdraw.”

Three or More Forces: When more than two forces meet, the conflict may be divided into separate engagements or conducted as a single battle, as decided by the players. Factors such as table size and number of figures involved versus the number available should be considered in addition to player preference. In case multiple battles are decided, contact and deployment are handled separately.

Battles at Sea

The present system is not useful for naval engagements. We got longships and pirates though, so we could make something up should the occasion arise.

Contact Dice

Upon making map contact, the commanders roll a dice. We use the dice scores with and without modifiers throughout the process, so it’s best to make note or leave the dice on the table for reference. The results determine each commander’s awareness of the opposing force, the hour of contact, and which player draws the first terrain cards and how many.

Modifiers

A commander’s contact dice is modified for each of the following criteria:

Contact Modifiers
Criteria Modifier
More move points than all opponents +1
Smallest force by at least one regiment* +1
Successful scout(s) +1
Captured scout(s) +1
Previous contact this or one period before +1
All opponents in clear terrain† +1
All opponents in mountain terrain† −1

* Here, size considers the entire army; it does not consider strength.
† Terrain modifiers ignore the hex occupied by the commander.

Contact

Contact Table
One Dice Estimation of Enemy Force
  Size* Composition
1† None None
2‡ None None
3 ±50% Basic troop type (infantry or cavalry)
4 ±25% All troop types
5 ±10% All troop types, proportions, plus organization**
6 Accurate Exact plus individual creatures

* Size considers the engaging regiment; the exact variation is determined below.
† Unaware of enemy presence.
‡ Aware of enemy presence but no estimation possible.
** Number of regiments in addition to the engaging regiment and any command units, such as the Elf King’s Company.

That the commander is aware of the dice roll, and therefore the range of the information’s accuracy, is of no consequence, as a commander may gauge the accuracy of the size by the composition details gathered.
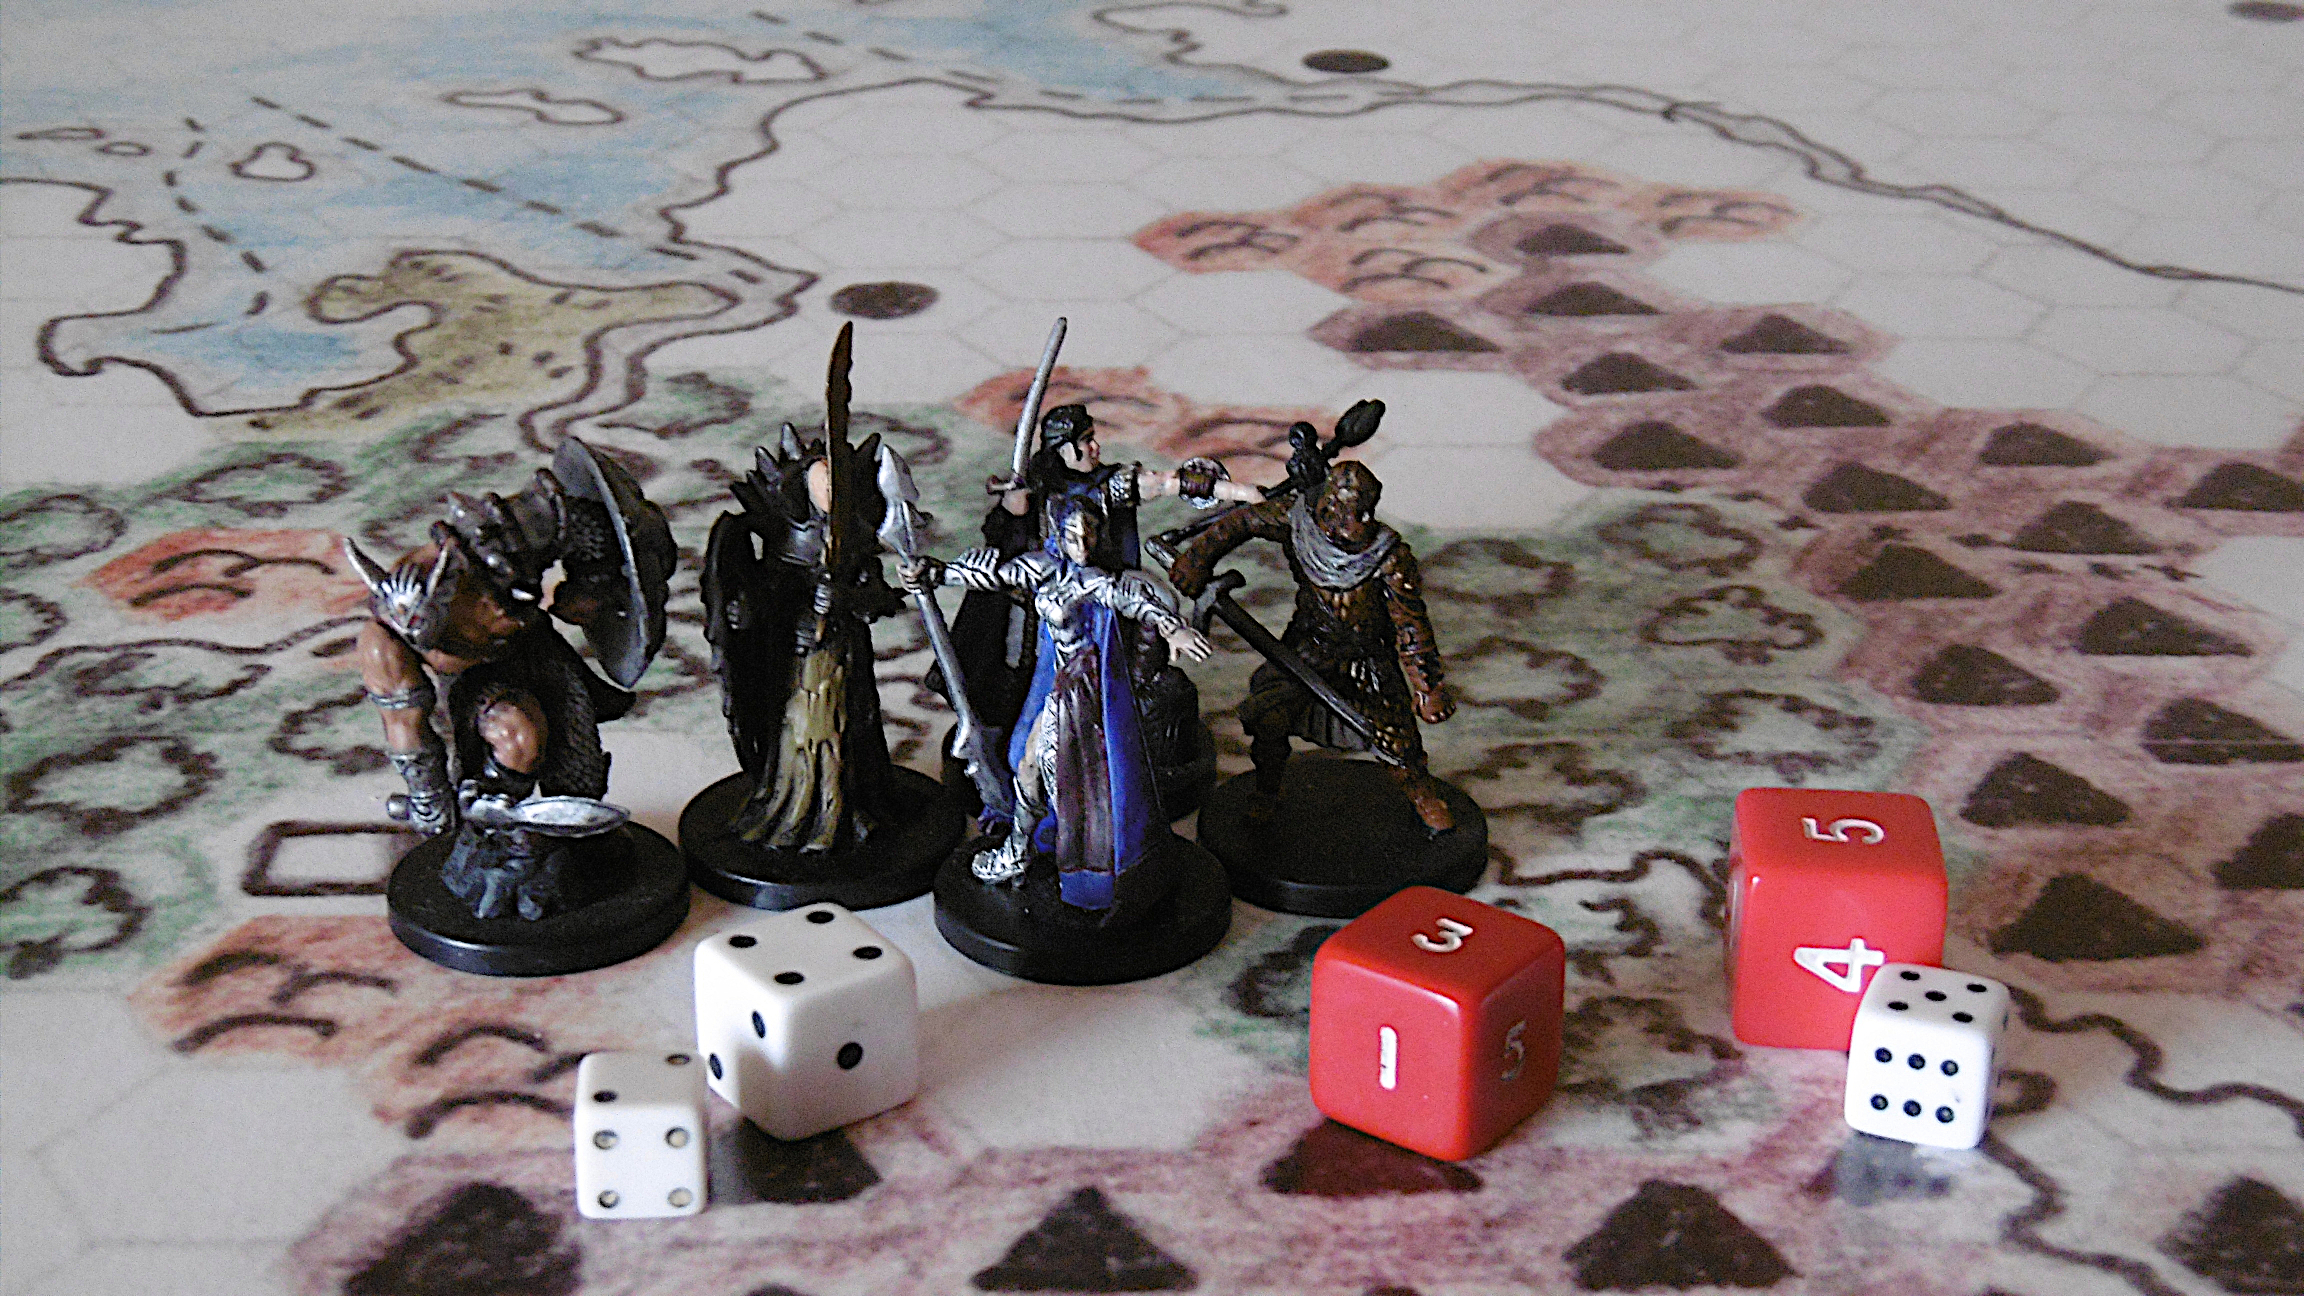
Contact Dice
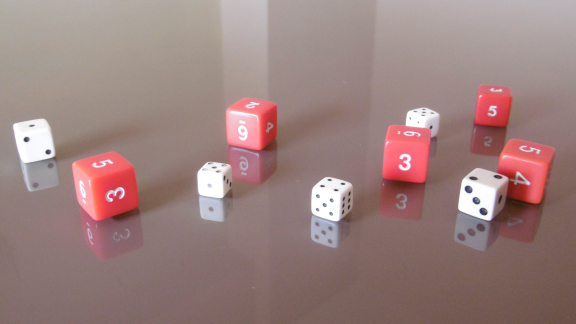
Contact Dice Example.

Taking the dice left to right: Hadewych’s scout is killed. Her contact dice roll is four, to which she adds 1 as all her opponents are in clear terrain, for a total of five. Ingegerd, to her roll of three, also adds 1 for her opponent in clear terrain, total four. Aeskrvald adds 1 for terrain to his roll of five, plus 1 for a successful scout, to make it seven.

Size Estimation

To determine the estimated size of the enemy force, multiple players without a referee need only choose a percentage in the given range, make the calculation, and inform the opponent. A referee or solo player might do the same or roll two dice on the table below.

Size Estimation Table
Two Dice ±50% ±25% ±10%*
2 −50% −25% −10%
3 −40% −20% Accurate
4 −30% −15% −10%
5 −20% −10% −5%
6 −10% −5% −5%
7 Accurate
8 +10% +5% +5%
9 +20% +10% +5%
10 +30% +15% +10%
11 +40% +20% Accurate
12 +50% +25% +10%
* As in the two previous columns, probabilities in the ±10% column are weighted toward more accurate results.

Contact Hour

Take the difference in the highest and lowest unmodified contact dice. Subtract the result from the current half period’s end hour to determine the hour in which contact occurs. Sunrise marks the 1st hour of the day. Thus, depending on the half period of contact and the difference in the contact dice, a battle may take place in any hour of the day or night.

Half Period Ends in Hour
Morning 6th
Afternoon 12th
Evening 18th
Night 24th

Notes

1 Contact occurs within a half period even when forces may move three or more hexes per day. With mainly infantry on the map, moving so far is rare. With more cavalry, moving three or four hexes is more common. But we avoid dividing a period into thirds or fourths in favor of simplicity.

2 This is not an actual agreement between commanders. The agreement is implied by the lack of further action on both sides.
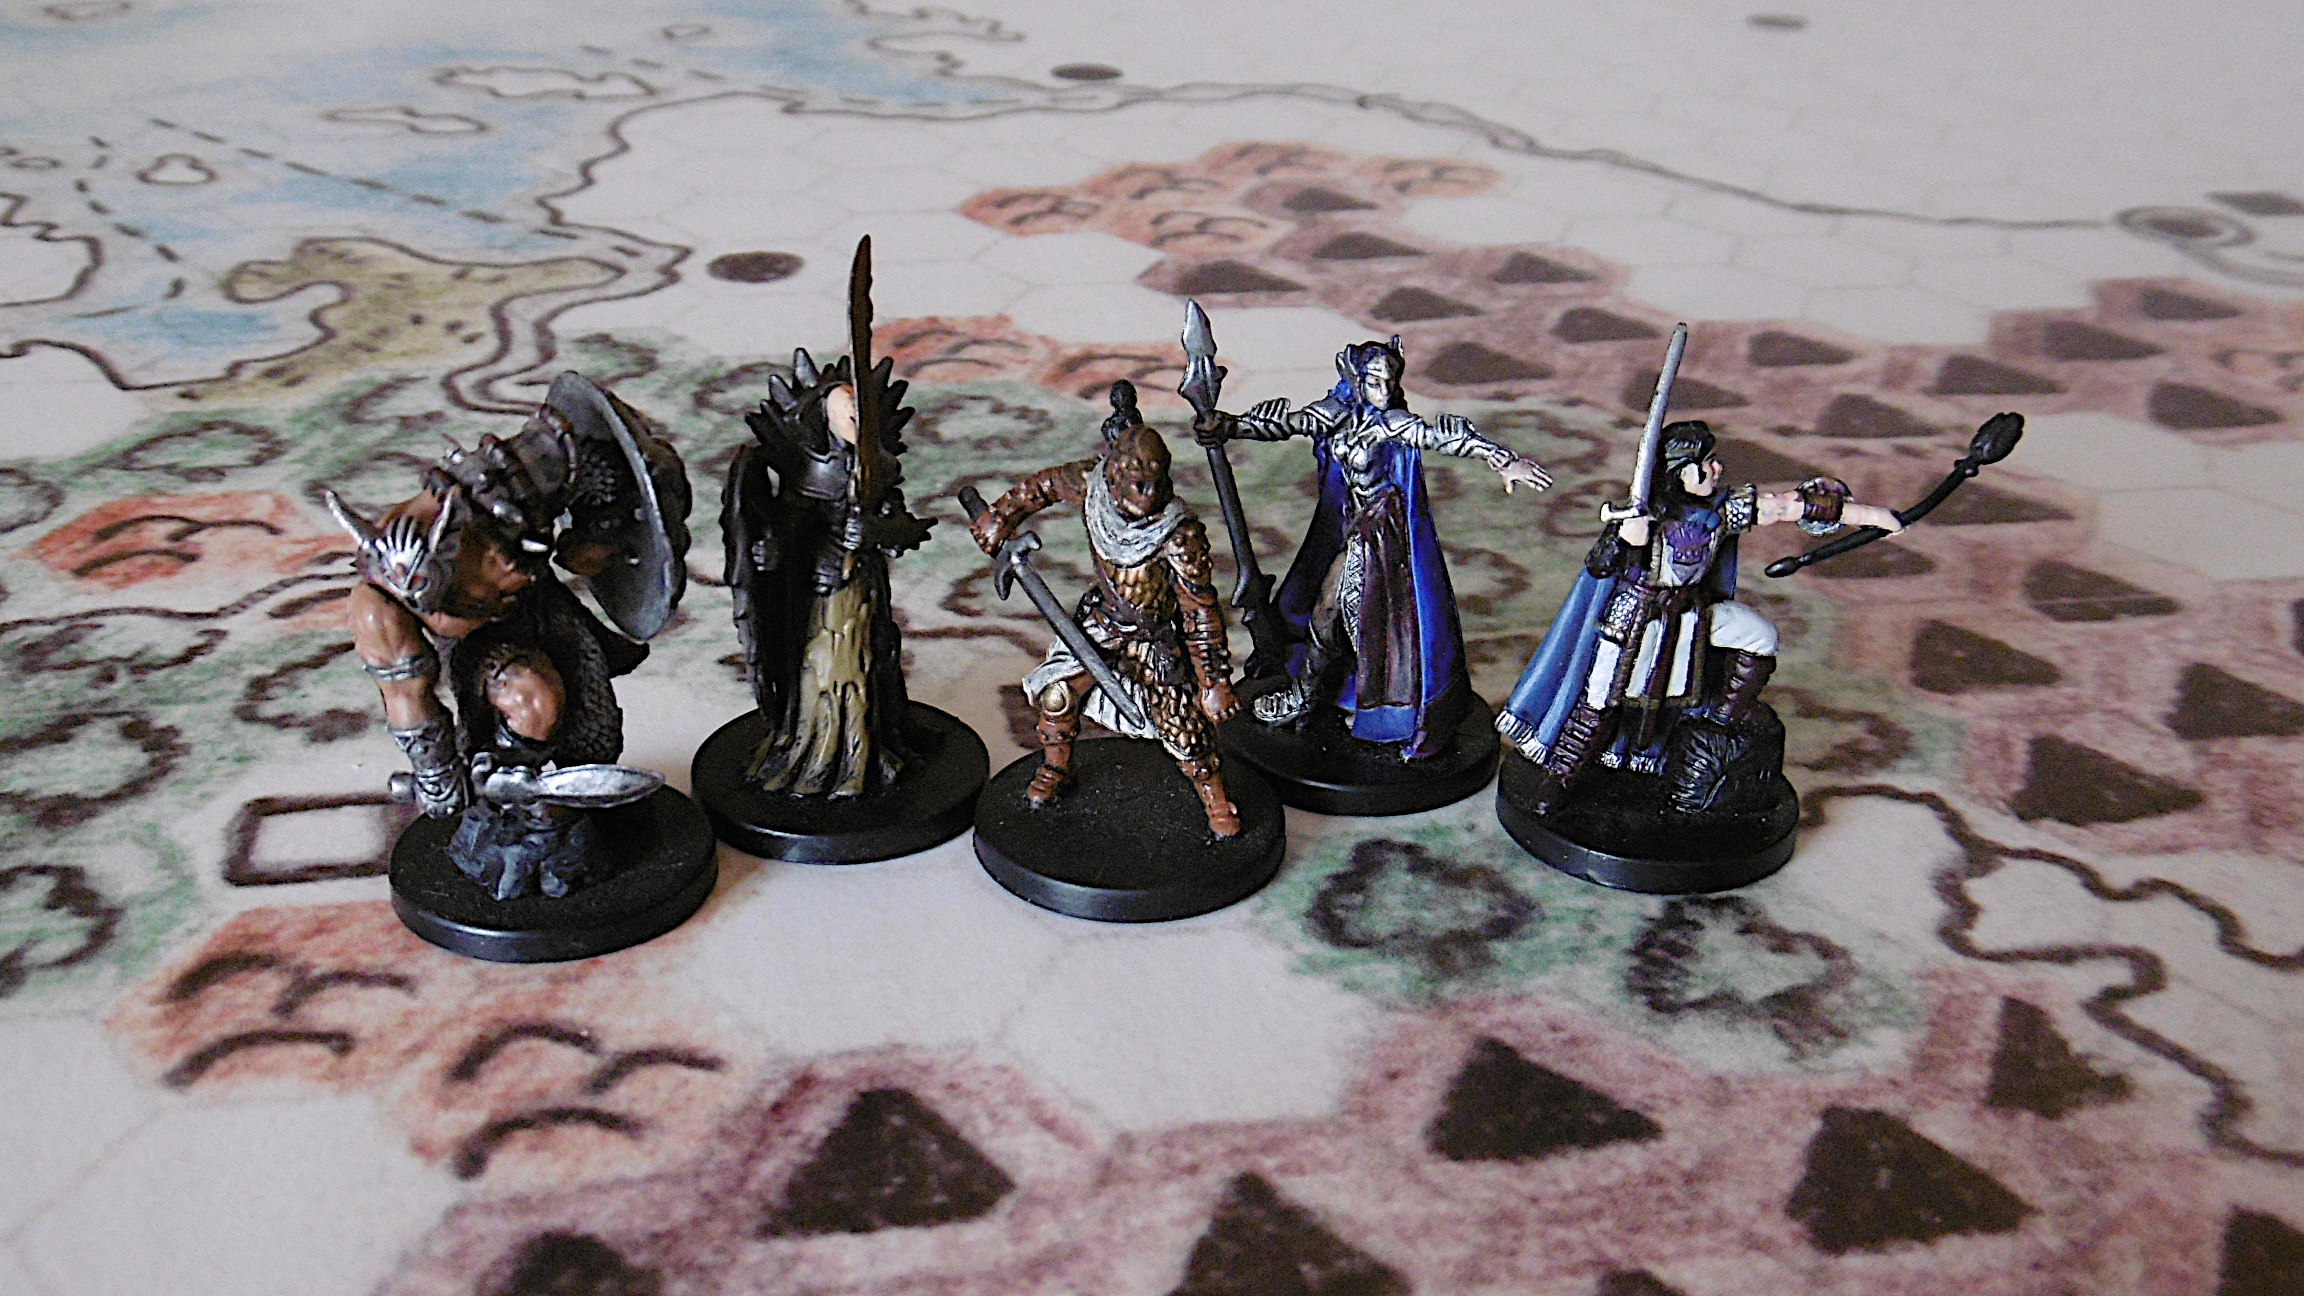
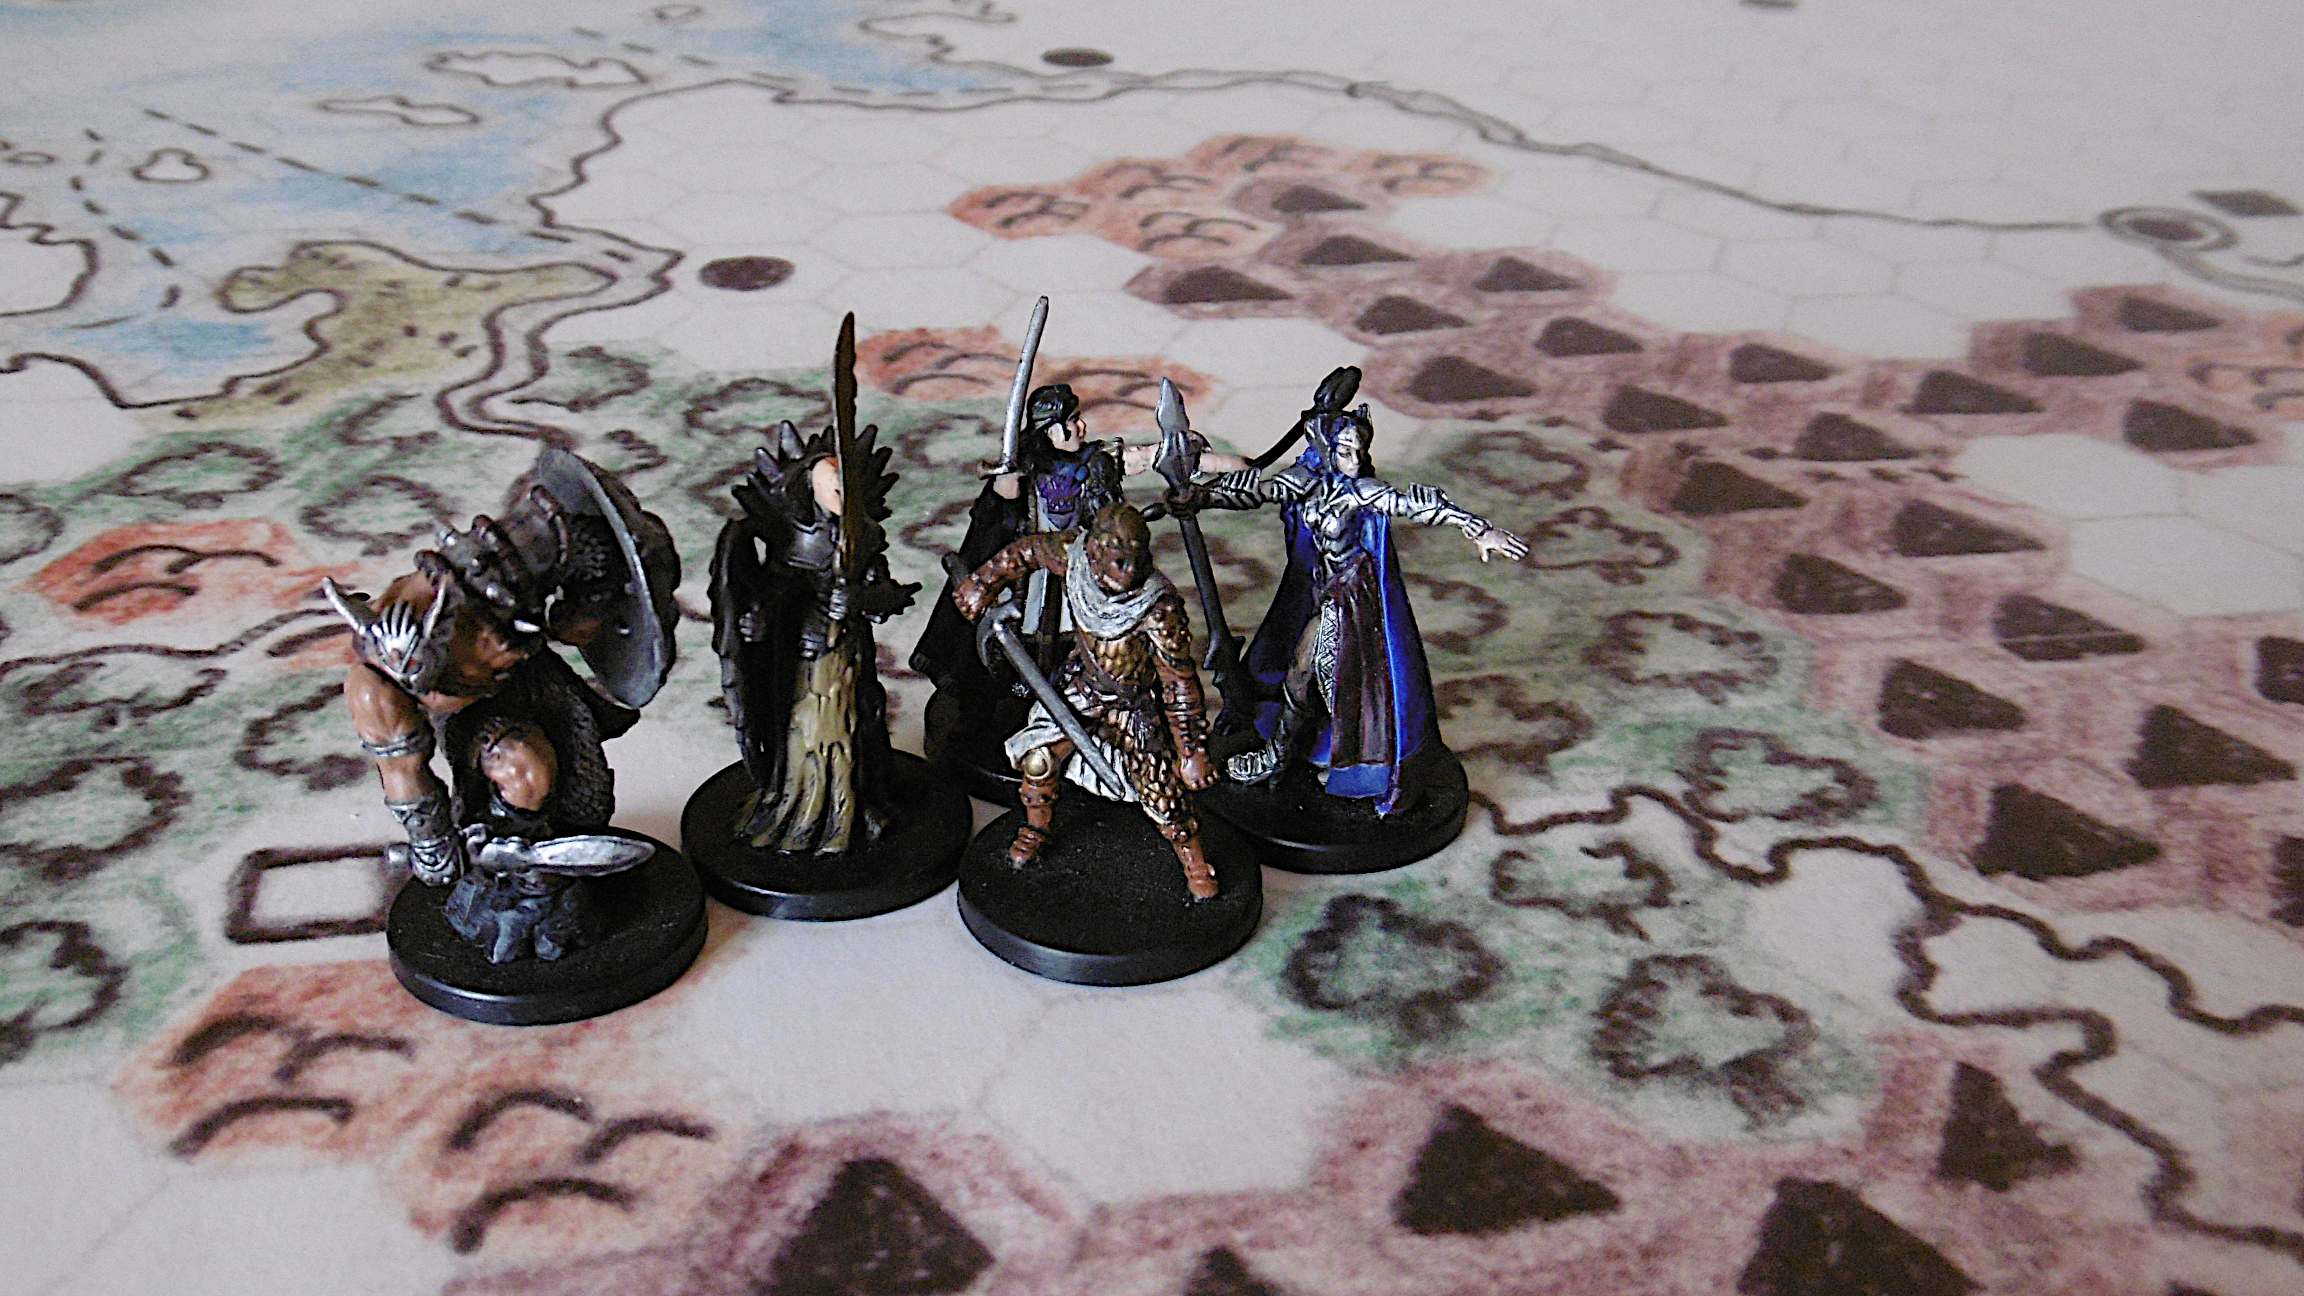
Support, Reserve, Maneuver

Support and Reserve

Support and reserve are roles that may be assumed by forces when an allied force is in map contact. The roles permit the relief, reinforce, support, and exploit operations as explained below.

These rules assume already that regiments serve assault, support, and reserve roles within the same hex. Support and reserve roles may only be assumed by forces of different armies from each other and from the supported force. For example, Ingegerd’s army may support Arn’s army, and Aeskrvald’s army may be in reserve. But Arn could not separate his army into its three regiments, moving each to a different hex and putting them in support and reserve to each other.

The relief and support operations permit two forces to “switch” hexes, a move not normally permissible. The first time per turn a force (commander figure) participates in a relief or support operation costs no points and requires no time. The second or subsequent times in a turn that a force conducts such an operation, the necessary time and move points are required.

Note: There is a difference between the support role and the support operation. I’m open to suggestions for a better term for the latter to avoid confusion.

Contact and Deployment

“Support, Reserve, Maneuver” is the first of six parts of “Contact and Deployment” in the Valormr Campaign.

Support

A force adjacent to an allied force and not in map contact with an enemy force may support the allied force. A force so supported gains a bonus when conducting disengagement operations (explained later) or when opposing such operations.

Relief: A supporting force may switch hexes with the supported force. Their roles are also switched. The support force becomes assault, assault becomes support. The relief may take place at any time before contact dice are rolled or after any disengagement.

Reinforce: If the results of a disengagement operation indicate displacement, the supporting force may opt to reinforce the supported force, thereby preventing the displacement. The disengaging force then takes normal losses.

Reserve

A force adjacent to an allied force currently supporting another allied force can act as reserve to the supported allied force.

Support: Similar to the relief operation above, a reserve force may switch hexes and roles with the supporting force. Unlike relieving the assault force, the support operation may take place at any time.

Exploit: A reserve force may use the exploit operation to move two hexes. The intermediate hex must be the hex occupied by the supporting force, which the reserve force moves through, and the destination hex must put the reserve force in map contact with an enemy force. The exploit operation costs move points only to move from the intermediate hex into the destination hex. It takes place immediately following contact resolution, including after a battle.

Maneuver

A force in a hex adjacent to an enemy force may use the maneuver action. The maneuver action costs move points to move into the figure’s current hex but takes no additional time. Only a formed force which is not fatigued may maneuver.

The maneuver force gains a bonus on the deployment dice and any disengagement dice during the half period. Furthermore, the commander may force a second map contact in the half period, immediately following resolution of the first. A commander may begin the maneuver action, spending the move points and gaining the bonus, at any point during a half period, but the maneuver action ends with the half period.

Hadewych Versus Arn
The afternoon sun glares off the south wall of the Throrgrmir Citadel. With his army, Solon Theros supports Hadewych, whose army stands against Arn. Arn’s army, which is left with only one regiment, is supported by Ingegerd’s army. Aeskrvald in reserve. The battle is fierce. Withdrawing after heavy losses, Arn would be displaced (pushed back one hex) but for Ingegerd’s reinforcement.
Aeskrvald Exploits
The contact resolved, Hadewych maneuvers to provoke the second map contact of the afternoon. She seeks Arn’s destruction. Aeskrvald’s army uses exploit to move into map contact with Hadewych.
Ingegerd Relieves Arn
Immediately afterward, Ingegerd relieves Arn’s beleaguered regiment. Now, Hadewych faces two fresh armies.

Contact and Deployment

Between map contact and the opening moves on the tactical field, play is conducted in two phases: contact and deployment. Each phase is resolved by dice throws, accompanied by commanders’ decisions.

In the contact phase, commanders inform themselves about the enemy’s size and composition and survey the potential battlefield. At the end of the contact phase, commanders decide whether to engage or evade. In case of engagement, forces are deployed and the battle begins.

Reading Map

I thought to have a few words about making contact on the strategic map and subsequent deployment. Turns out the draft has a couple thousand of them on the first topic, and the second isn’t yet fully elaborated. I split the lengthy whole into the following articles:

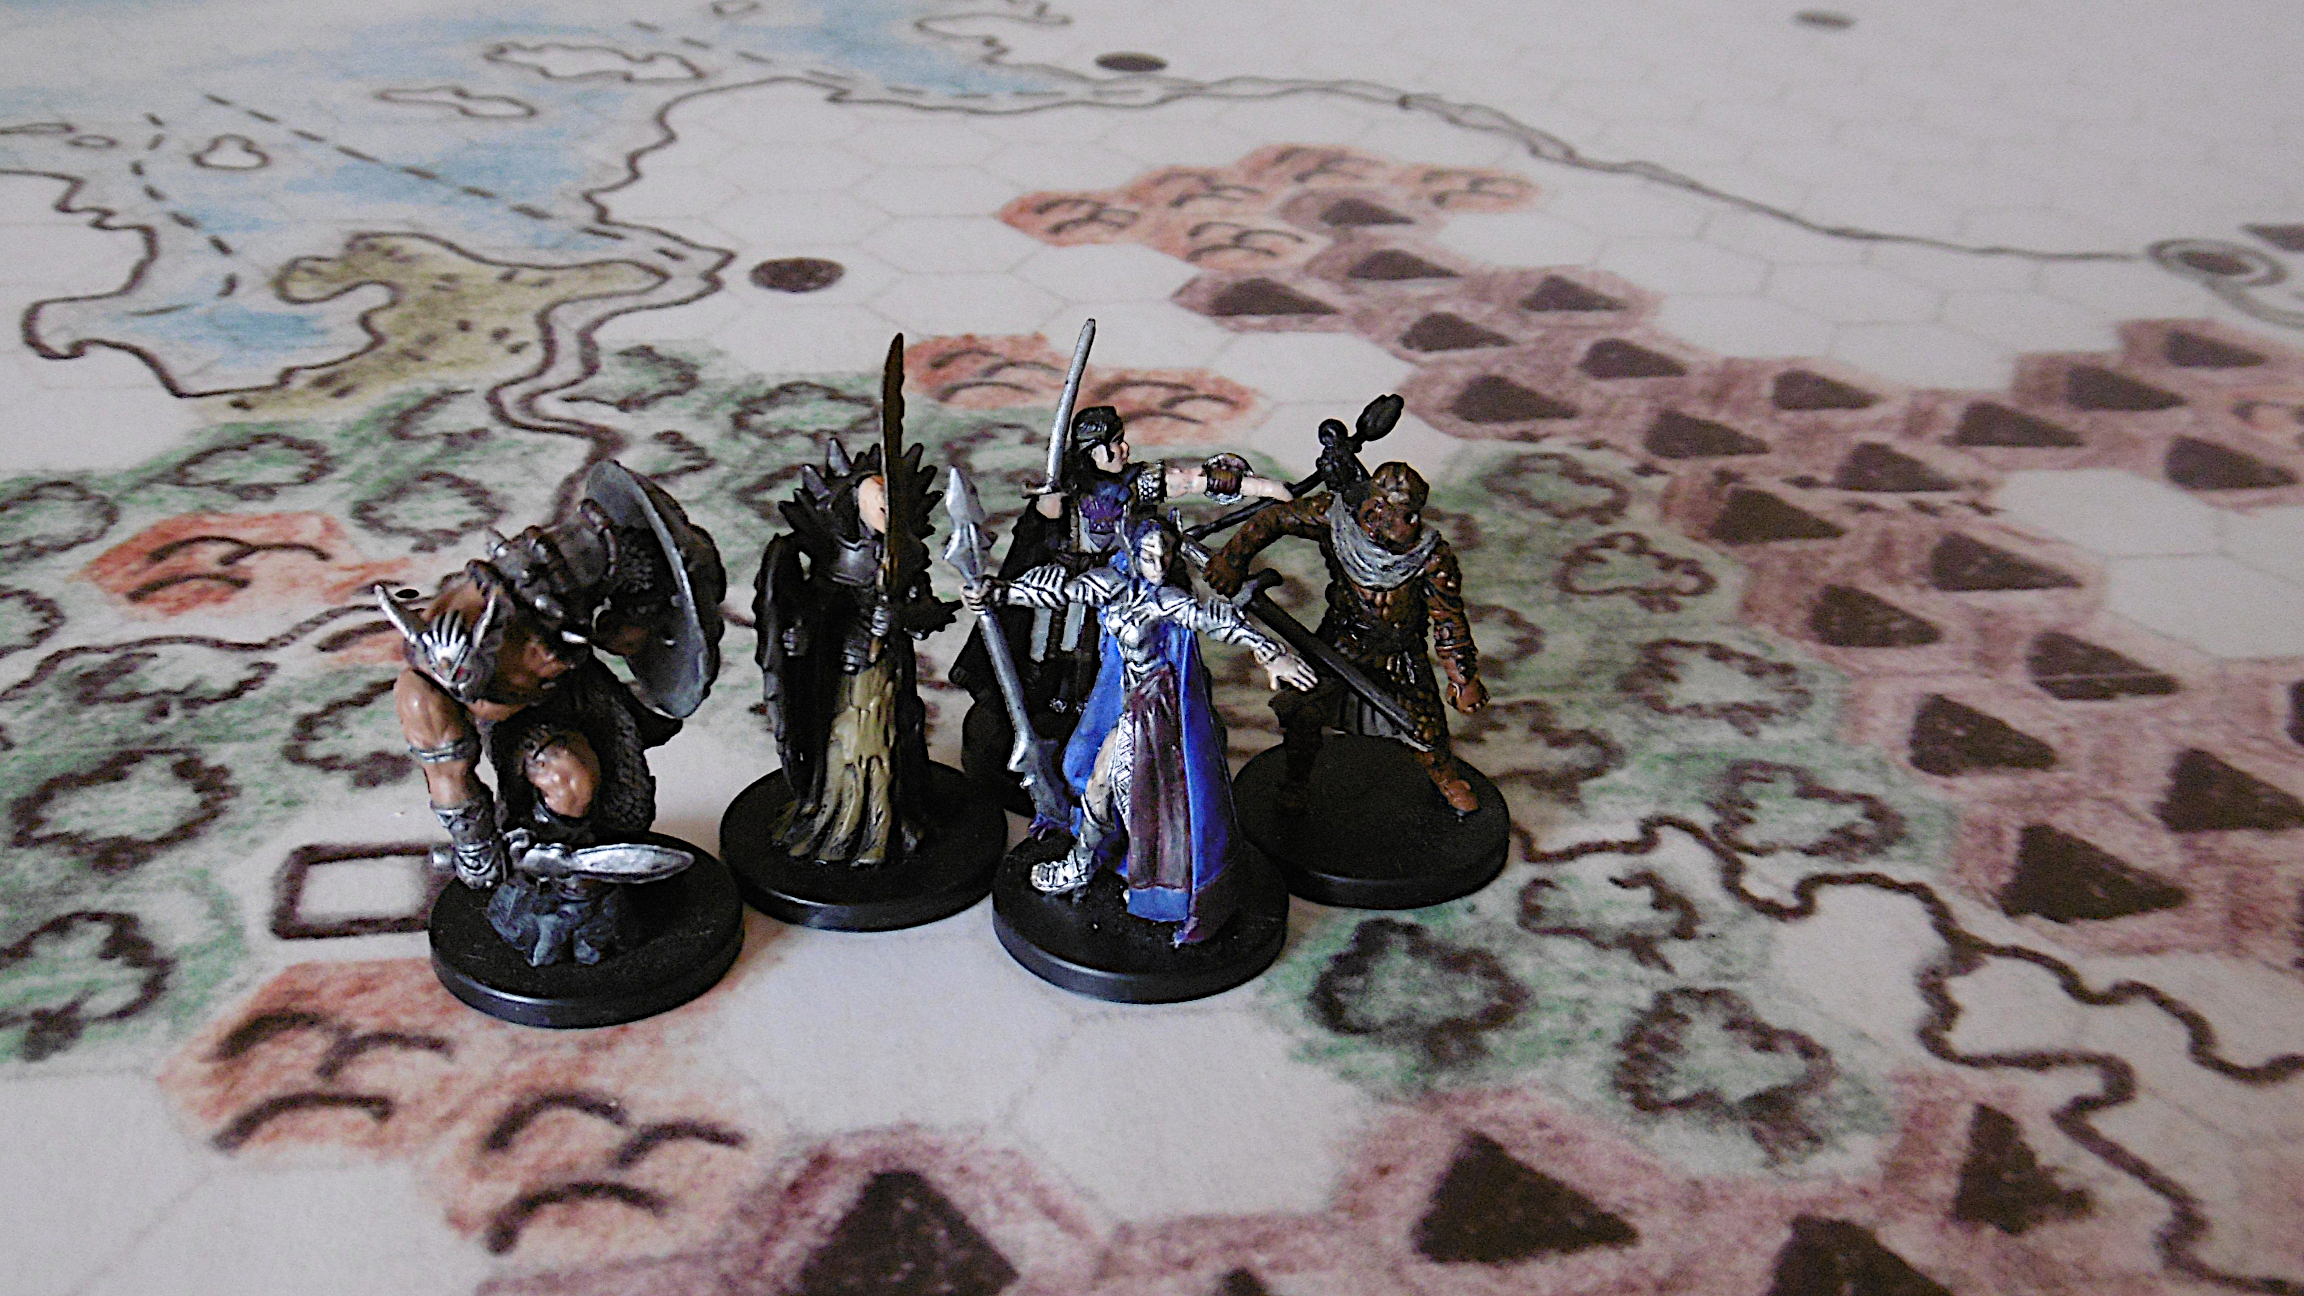
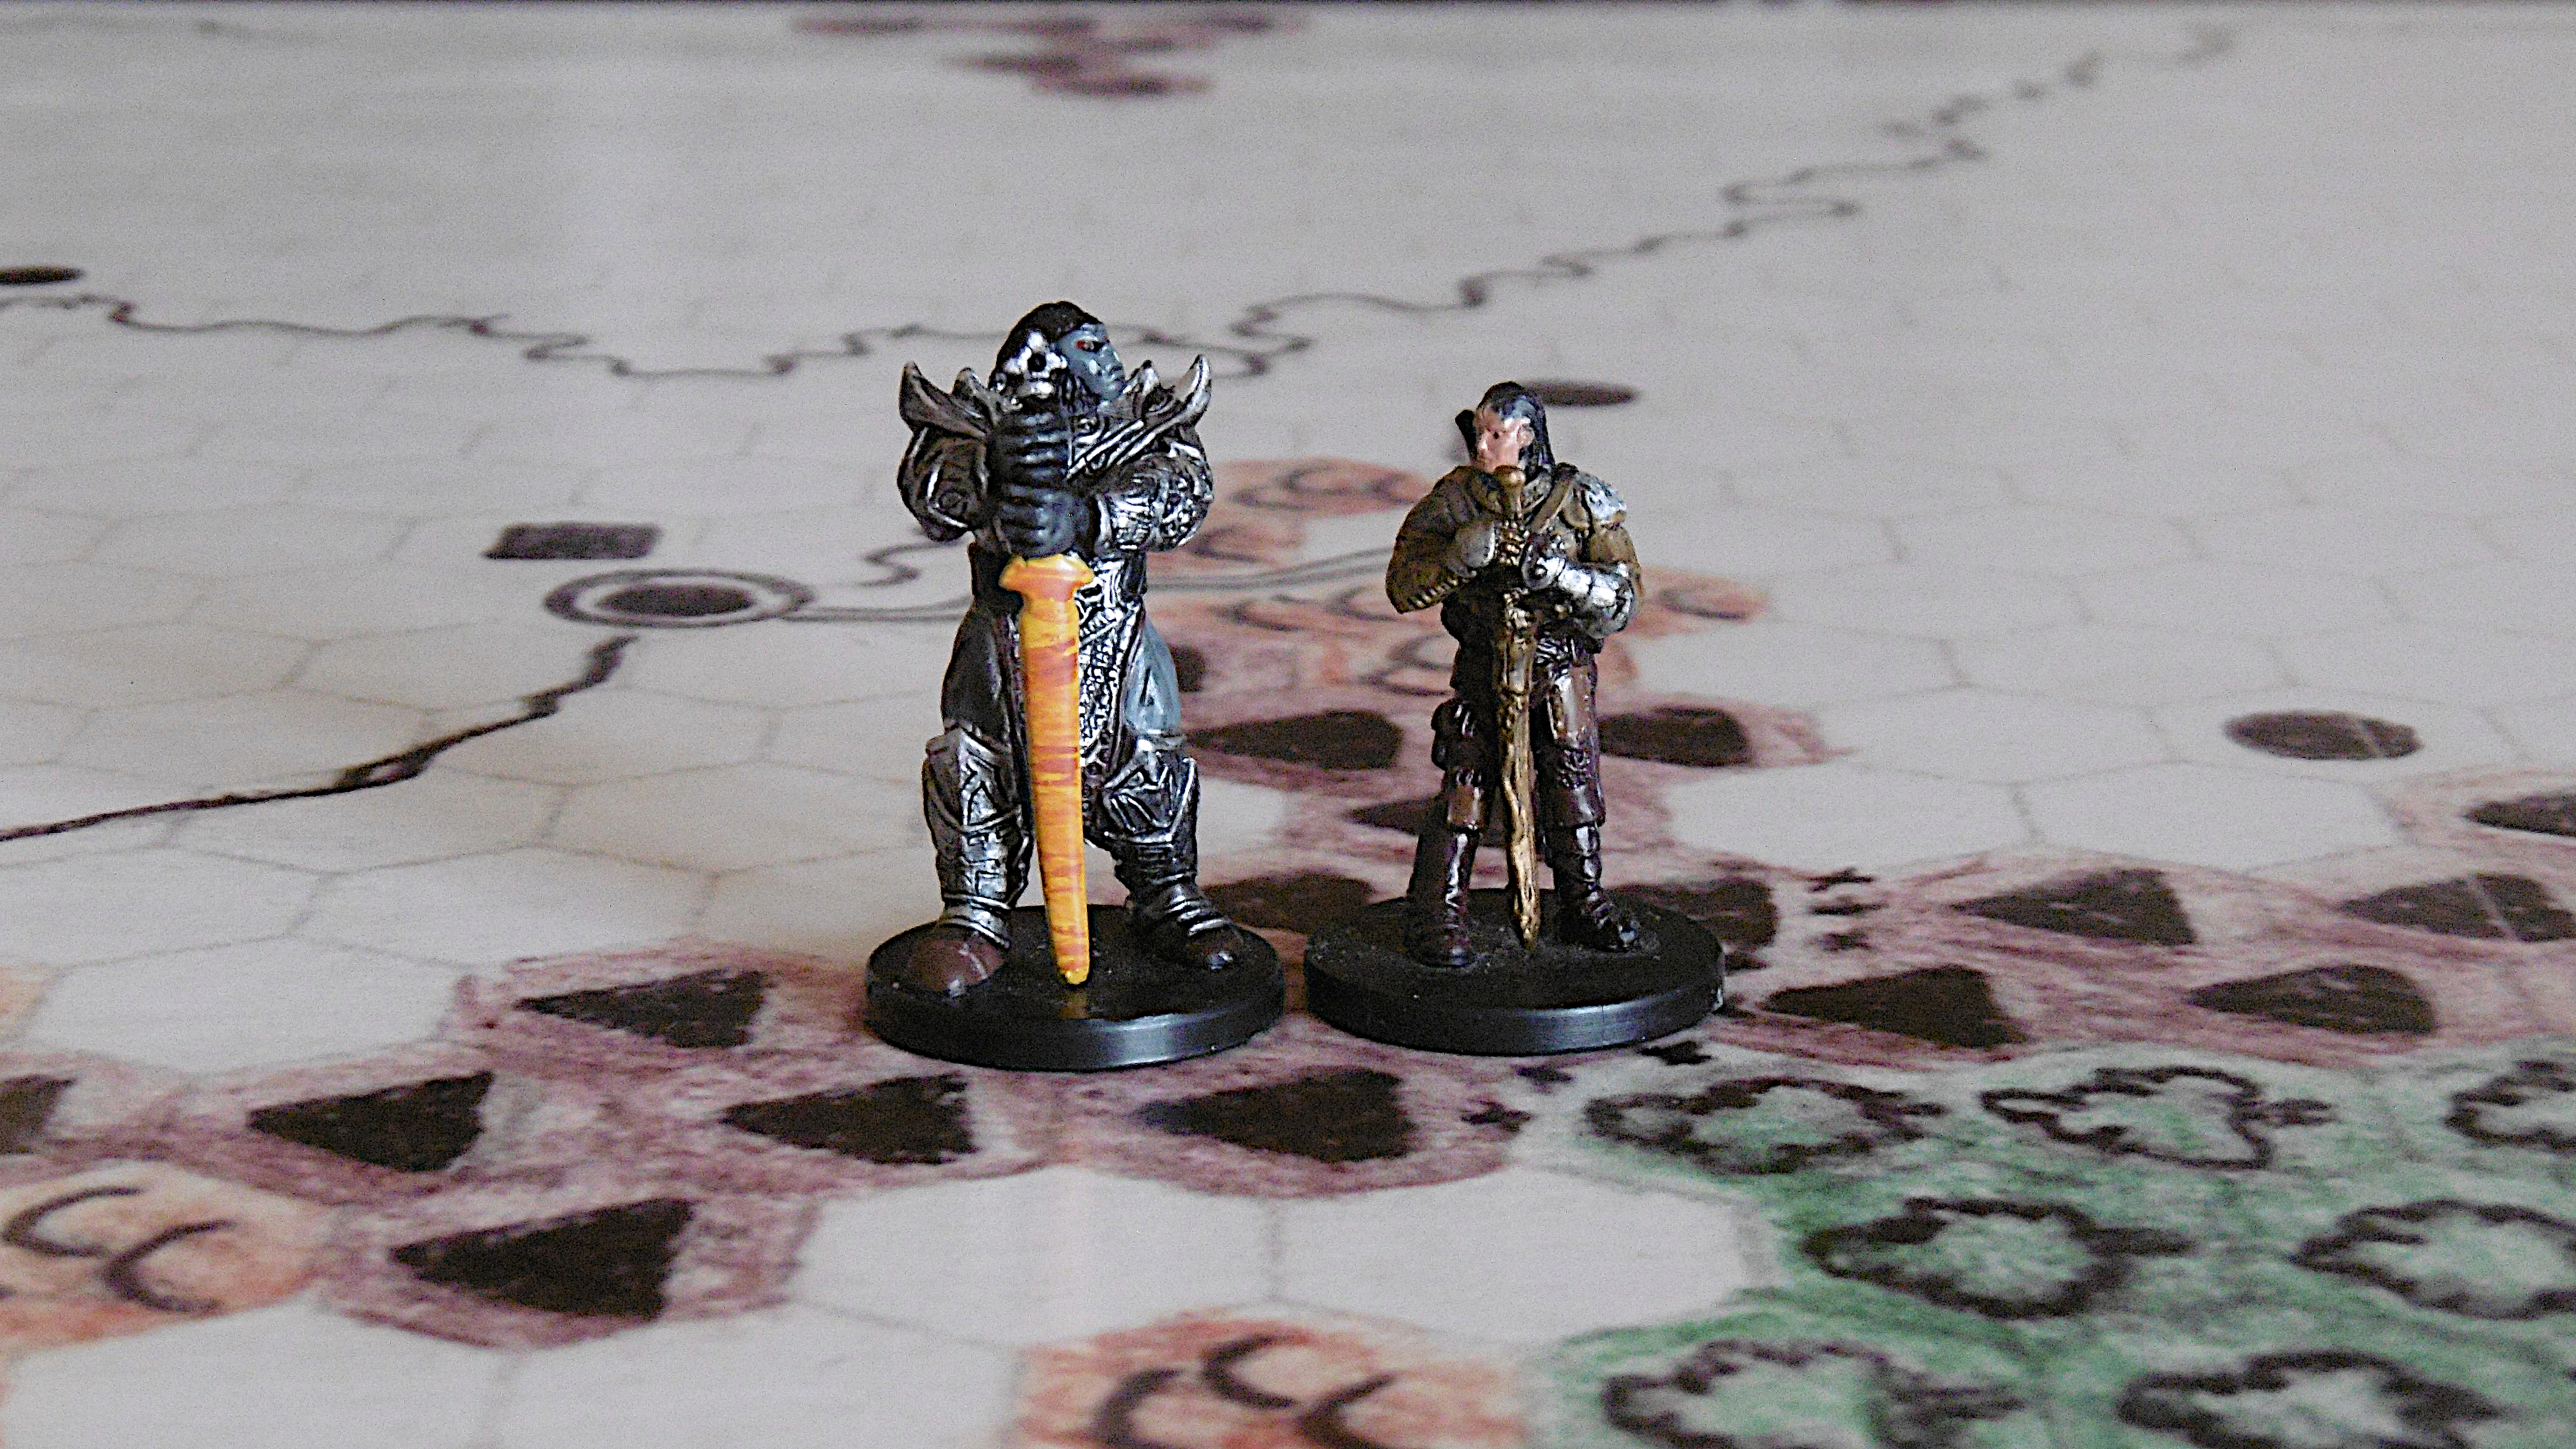
Oberon  Orc King (left)  Mordred  Thane of Gyrhawk Hold (right)
[Insert caption here…]

Orders of March

“I tend to speak of regiments, brigades and divisions rather than using historical terminology because everyone understands what these modern terms represent.”—Tony Bath, Setting Up a Wargames Campaign

Though speaking of an “elven regiment” irks to some degree, our simple campaign follows Bath’s lead. The advanced campaign may well devise not only differing denominations but varied organizations for armies of elves, orcs, halfolk, and other such cultures.

Before we talk about making contact with the enemy, we must know what our armies look like on the march. Below, I outline force composition, tactical march formations by terrain type, and prebattle formations.

Composition of Forces

In the Valormr Campaign, each commander on the strategic map leads an army—unless its units are separately deployed, as are the elves at campaign start. For our purposes, an army consists of a number of regiments. If necessary, a regiment may be further divided into two battalions. The smallest unit is a company, which is any number of figures of like troop type. A company of four armored foot, for example, or a company of five longbows.

“If, for the sake of argument, each army consists of 30 or more regiments, even if you possess enough troops to match these numbers, on the normal sized board their use may so crowd it as to inhibit maneuver and turn the battle into a simple slogging match” (Bath, 74).

As the number of miniatures in the figurine collection as well as space on the table for them is limited, we limit the force an army may deploy in a battle to one regiment. An army’s first regiment is the assault force. The rules assume that a second regiment, if any, supports the first, and a third and any other regiments are in reserve.

A commander may reassign regiments to these roles at the beginning of any half period. The first regiment, after taking losses in battle, for example, may be reassigned to reserve, the second to assault, and the third support. The assault regiment always leads the order of march, support follows, and the reserve trails.

Within an army, it is necessary to track the strength of each regiment. A regiment’s strength is a measure of its original figure count after losses. For example, a regiment of 20 figures (800 men) engages with the enemy, suffering eight figures in losses. The regiment’s strength is then 60%. Partials of multiple regiments may be reconstituted, and mercenaries might fill the ranks.

Although an army’s subunits might be dispatched across land and sea, we must be careful not to overcrowd the strategic map. These rules strive to keep the army together—or at least avoid splitting it up.

Each unit within a force always maintains unit integrity. That is, figures remain in company formation, companies within battalions, battalions within regiments. If necessary, assume that, within companies, figure bases touch with a half-figure distance between companies, one figure between battalions, and a distance of two figures separates regiments.

Tactical March Formations

Each force, represented by its commander figure, moves across the strategic map, usually in formation. When contact with the enemy is greater than nil, a force moves in tactical formation.

Advanced: Formations by Creature Type

Like different words for regiment, in a more complicated game, we might assume the formations below are most used by humans and devise differing formations for other creature types. In that case, different human cultures as well may then employ other formations to take best advantage of their own capabilities.

A column is a formation of units, one behind the other. A line is a formation of units, side by side. A column or a line may consist of any size unit: regiment, battalion, or company, and it may be as narrow as a single figure. Within the figure, the formation may be as narrow as a single soldier. A column is most often used in marching; a line in battle.

In our simple campaign, a force’s tactical formation is decided by the terrain type through which it moves.

Track and Mountain: Column of figures. Each figure represents 40 troops, marching in two files abreast, twenty ranks deep.

Road: Column of figures. As on a track but four files of troops by ten ranks.

Forest, Swamp, and Hill: Column of companies. Generally, a company forms itself in four files of figures by necessary depth. For example, a company of one to four figures marches in a single rank, five to eight in two ranks, and so on.

Clear: Column of battalions. A battalion, which is half a regiment, marches with its companies, each formed in four files as above, side by side. The regiment’s second battalion follows in like fashion.

Scouts Out

In tactical march formation, a commander may deploy a scout ahead of the advancing force. A scout is assumed to go up to a mile ahead of the force, so for our purposes, remains within the same hex. A scout costs no army points.

On map contact, a commander who has previously deployed a scout, rolls on the Scout table. A successful result indicates that the scout returns with more information than the commander would otherwise acquire. A captured result means the scout has been interrogated and may have given up information about the commander’s force.

Scout Table
Result Scout’s Disposition
1 Captured*
2 Killed
3-4 Unsuccessful
5-6 Successful†

* Capturing commander adds 1 to contact dice (explained later).
† Commander adds 1 to contact dice.

Multiple scouts may be deployed, in which case, the commander rolls multiple times, one for each, on the Scout table. But a commander may add no more than 1 to the contact dice for scouts. A commander may add 1 for his or her own scouts and another 1 for capturing the opponent’s scouts.

Prebattle Formation

The prebattle formation represents the fluid transition from the tactical march to the battle (or assault) formation. If the battle formation is that in which a force engages the enemy, the prebattle formation positions fighting units to more easily maneuver into battle formation once enemy units’ dispositions are known. In the ideal situation, a force transitions from prebattle to battle formation as it crosses into enemy missile range. For, once under fire, units must move quickly to engage the enemy or be depleted before their force is brought to bear.

When enemy contact is made, a force assumes a prebattle formation. When possible, in prebattle formation, units are formed outside enemy missile range, including that of catapults. Often, it is the prebattle formation which is deployed behind the baseline on the wargames table.

Base deployment

The commander decides the prebattle formation. These rules stipulate only the base deployment size, which is derived from the tactical march formation.

From the base unit of the march formation, a force’s base deployment is of the next larger unit.

Tactical March Formation Base Deployment
Column of figures, two by 20 troops One company
Column of figures, four by ten troops Three companies
Column of companies One battalion
Column of battalions One regiment

Deployed units may be positioned by the commander anywhere behind the baseline. Other units of the engaging force, at this point, are still in tactical march formation as they arrive. This base deployment may be modified by the results of the “contact dice,” which we get into next.

Initial Deployment
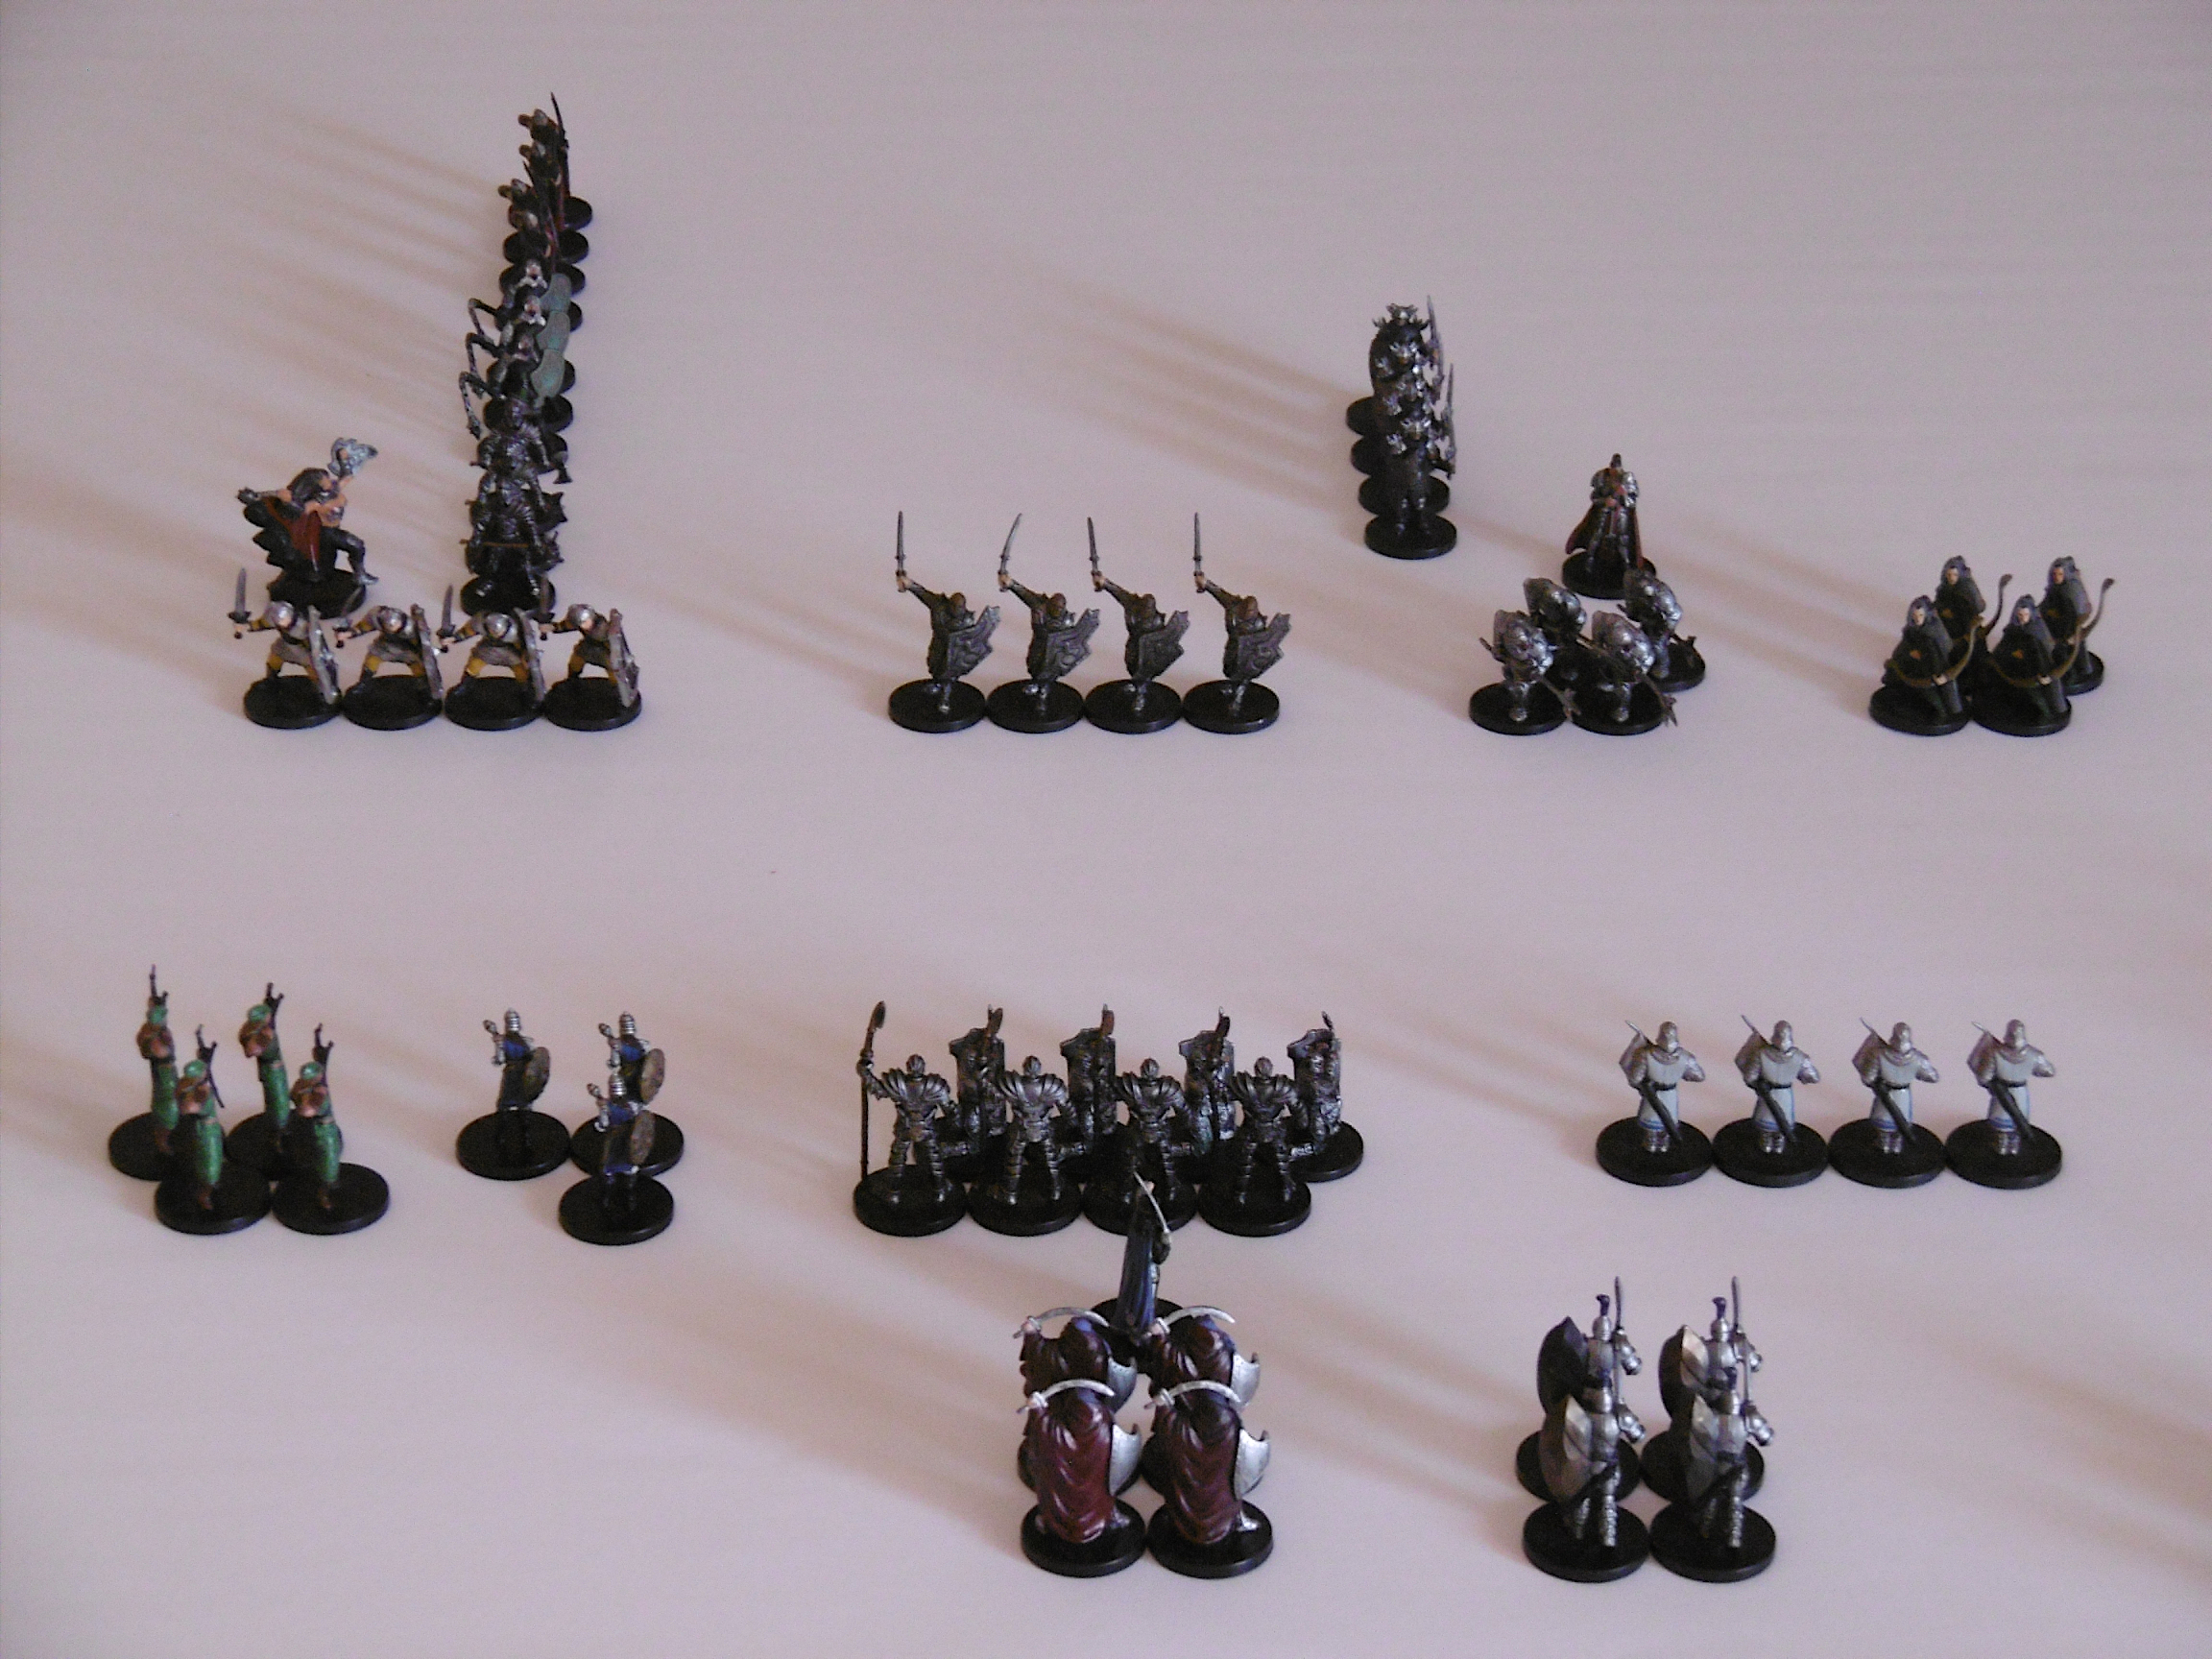
Demonstration of Base Deployment.

From a column of battalions, the Aeskrvald Prince deploys an entire regiment behind his baseline (foreground). On his right opposite, Annemie Tacx deploys from a column of figures, four by ten troops, to three companies on her baseline (background). On Aeskrvald’s left opposite, Minke Meine, from a column of figures, two by 20 troops, deploys a single company.

Deployment from a column of companies (not shown) is similar to that from a column of battalions. Columns of figures are shown for demonstration purposes only. Figures are not placed until their deployment.

Never Say Die

polyhedron noun
: a solid formed by plane faces

Webster’s

According to Webster’s, the plural of polyhedron is polyhedrons or polyhedra. When made from high-impact material and their faces numbered or pipped, they’re called dice. The singular as well as the plural have variations. We may say, “one die, two dice;” “one dice, two dice;” or “one dice, two dices.”

We may say, “one die, two dice;” “one dice, two dice;” or “one dice, two dices.”

Many 20th-century wargames texts from British realms employ the singular dice. Though I began adventure gaming in 1980s America, where “die” was the norm, my early wargames career, which started in the 2010s, was informed by British wargamers Tony Bath and his friend and wargames opponent, Donald Featherstone, who was a prolific author of wargaming books.

Outdoor Survival (Avalon Hill, 1972) simulates the struggle to survive in a hostile wilderness. While he uses the singular die for rolling, designer Jim Dunnigan avoids the verb “to die” in reference to the endgame. There is no notion of character in the rules. In the final instruction of How to Play, when he must indicate the losing outcome for the player, Dunnigan prefers the construction “has not ‘survived.’”

In DONJON LANDS, we never say die. We say “dice” and “has not survived.”

Never Say Die

Weather

Whether Weather?

Weather, by nature, is complex. Rules to simulate it no less so. A simple campaign may well do without such rules, but days and weeks of campaigning without a foggy morning or a soggy afternoon lacks luster.

A commander of a force consisting of mainly heavy foot avoids a soggy battlefield against a force with longbows. She rather favors dry ground and high winds. A fleet of troop transports rides out a storm at sea. The force it carries is delayed, the mission compromised. Swelling rivers cut off reinforcements. Without them, it is to be a muddy battle against an overwhelming force. These occasions lend verisimilitude to the wargames campaign.

Strategic Movement

This is the fifth of five articles, which discuss strategic movement in the Valormr Campaign.

Prevailing Conditions

The effects described here are general conditions applied to a period, but the conditions do not define the weather for every passing minute. Players are encouraged to embellish for dramatic effect. High winds toss treetops in gusts. A day of light rain is broken up by passing clouds and the occasional ray of sunshine. Hard rain is a steady pour, punctuated by momentary breaks. Fog drifts in banks across the terrain, clearing for an instant, in which the enemy is glimpsed, before another fog rolls in.

Determining Weather

To determine daily and nightly weather, we adapt Chainmail’s weather rules (21-2) as follows.

Periods: As stated in the introduction, each 24-hour turn is divided into two periods, day and night.

Starting Weather: The morning of the campaign’s first day—when Anax Archontas raids the citadel—is clear.

Period Weather: Roll on the weather tables on subsequent mornings and evenings, that is, prior to diurnal and nocturnal movement. Thus, weather is determined for each period, twice per turn.

Changing Weather: On a Cloudy or Clears result, the condition takes effect without another dice roll. On a Rain result, roll again on the Rainy table to determine if the rain is light or hard or only threatens (on a Cloudy result).

Fog and Wind Dice

For any period that a weather change is indicated (shown as an arrow on the weather table), roll an additional dice. A result of 1 indicates fog, a 6 indicates a wind phenomenon.

Fog

Fog lasts for at least half the period. At the half, roll again: 1-2 the fog persists. In the case of a persistent fog, it continues the next period on a roll of 1-2, rolling for each half period. A persistent fog lifts on a roll of 3-6 or when the weather dice indicates another change.

Wind

If a wind phenomenon is indicated, roll another dice. A result of 1 indicates calm wind, a 5 high winds, and a 6 a gale for the half period. A gale effects sea and coast hexes. On land, a gale becomes high winds. Similar to fog, at the half and at each subsequent half period, the wind phenomenon continues on a roll of 1 or until the weather dice indicates another change.

Weather Effects

The campaign opens in late autumn. After a few weeks, wintry conditions bring a halt to the campaigning season, which then picks up again in the spring. The campaign is expected to conclude before the next solstice. We ignore, therefore, the extreme weather effects, such as intense heat and cold and snowfall.

Some effects are cumulative. These begin at the end of the triggering period and continue in subsequent periods until the effect is cured by other weather.

Battlefield Weather: Using this system, we arrive at prevailing conditions throughout the days and nights. In addition to strategic movement, weather impacts the condition of a potential battlefield, once opposing forces make contact. In most cases, as in movement, weather effects are the same on the battlefield as on the strategic map. Where effects differ, they are noted.

Advanced: Tactical Weather

To strategic-level weather, we might add changing weather during a battle. The Chainmail system is intended for this purpose. The additional burden of another dice roll every other turn during battle, however, plus tracking cumulative effects, compared to the benefits in verisimilitude push battlefield weather into the bailiwick of an advanced game.

Rain

Light Rain

  • One period of light rain maintains present conditions.
  • Two consecutive periods of light rain equal one period of hard rain.

Hard Rain

  • During a period of hard rain, overland travel is reduced by 25%.
  • One period of hard rain makes fords impassable.
  • Two consecutive periods of hard rain renders ferries inoperable.
  • Three consecutive periods reduce all movement by half.
  • A fourth brings all movement to a halt.

Curing: Following one period of clear or two periods of cloudy, subsequent periods of clear and cloudy reduce the effects of rain in steps. For example, after three consecutive periods of hard rain, a second period of clear reduces the effects to the previous state, as if there had been two periods of hard rain. Two periods of cloudy equal one period of clear.

Strategic Movement Under Fog
Ports are socked in as heavy fog blankets the land.

Fog

  • Fog prevents seagoing vessels from entering or leaving port.
  • Fog reduces the speed of ships at sea by 50% for each half-period it persists. Since a half-period represents one-quarter of a sailed ship’s move, divide its move points by eight, the result being its move points for the half-period.
  • Fog does not effect overland strategic movement.

Battlefield: Fog limits visibility to a range of 30 to 180 yards (dice × 30). Any creatures sensitive to bright light suffer no adverse effects from the sun’s glow.

Wind

Calm

  • Calm prevents any movement of sailed vessels. Galleys and longships must take to the oars.
  • Calm wind has no impact on overland strategic movement.

High Winds

  • High winds prevent seagoing vessels from entering or leaving port.
  • Sailed vessels at sea move 50% faster in each half-period the high winds persist.
  • High winds have no impact on overland strategic movement.

Battlefield: High winds reduce missile-fire hits by one. Catapults are not effected.

Gale

  • No movement is allowed in gale winds, as all ships at sea must lower sails, drop anchor, and ride out the storm.
  • A vessel on a coast hex may beach.

Advanced: Drought

Adapting Chainmail’s weather system, as we have done, leaves little chance for a drought. Using another system or summer season campaigning, though, drought effects should be considered.

After four consecutive weeks without at least four periods of rain, whether hard or light, the land is in a state of drought.

  • In the fifth week without sufficient rain:
    • Overland move points are reduced by 25%;
    • Major rivers are treated as minor rivers;
    • Minor rivers are fordable along their length.
  • A sixth week of drought further reduces overland movement to half normal.
  • A seventh week:
    • Major rivers are fordable;
    • Minor rivers are no longer navigable;
    • Movement is reduced to only 25% normal;
    • Forces lose 5% to 15% (half-dice × 5) per week as casualties.
  • In the eighth week, loses due to casualties increase to 10% to 30% (dice × 5).

Curing: A drought is eased by one week with each period of light rain, where a hard rain is considered two periods of light rain. So, a light rain in the sixth week brings conditions back to as they were in the fifth week. If it were a hard rain, the fourth week, after which another light rain in the same week ends the drought.

Terrain Effects

Strategic Movement

This is the fourth of five articles, which discuss strategic movement in the Valormr Campaign.

Movement by Terrain Type

The table below gives the point cost to move into a hex of each terrain type. Some terrain types have other considerations, described below.

Terrain Cost (Move Points)
Clear 6
Forest 9
Hill 9
Swamp 9
Mountain 12
Road ×⅔*
Track ×1*
Sea or River 6
* This factor is multiplied by the move point cost of the terrain type the road or track traverses.

Spending Move Points: On the strategic map, a commander figure moves into a hex, expending the required points. If it hasn’t enough points to move into the next hex, it moves no farther.

Saving Move Points: A commander may save unused points for the following day’s movement. If the unit remains stationary, the points are lost. If a unit halts movement or if it makes enemy contact, excess points are lost.

Note: Saving points for the next day allows movement at ⅔ normal rate, such as through swamp and hills, while avoiding the situation where a figure straddles the line between hexes, which is awkward when we consider enemy contact.

Advanced: Getting Lost

In the advanced game, a small-unit commander, a lieutenant say, may get lost unless following a road, track, or water course. Commanders of larger units do not get lost under normal circumstances.

Forest and Swamp

Only infantry can move in formation through forest or swamp without a road. Ellriendi elves move at Clear rate through their home forest. Lizard men move at Clear rate through swamp hexes.

Mountains

Mountainous terrain is crossable by formed bodies of troops only by road (two parallel lines on the map) or track (line of crosses).

Units, Formed and Unformed

To cross certain terrain, a force may move unformed.1 Thereby cavalry moves off-road through forests, and armies cross mountains. At the end of unformed movement, at a rally point, one day must be spent to reform the troops.

Furthermore, 5 to 15% (half-dice2 × 5, round up to nearest figure) of the force will be lost to stragglers per day of unformed movement. A unit at the rally point may wait for stragglers to catch up (half-dice × 5 per day). On departure from the rally point, any remaining stragglers are lost.

In case of enemy contact, units of an unformed force begin the engagement in a non-rallied state as if in retreat. Though their backs may or may not be to the enemy, each unit rallies at the end of the first turn of mass combat, unless it is attacked. See Retreat and Rout and Continued Retreat or Rout (Chainmail, 16).

Sea

Coastal Waters

Longships and galleys must remain within coastal waters, which extend out to two sea hexes from a coast hex. That is, the vessel can have no more than one sea hex between its current hex and a coast hex.

The north coast from East Port westward is a mud flat at all but times of high tide. Therefore, all vessels must use a channel (marked on the map as dashed lines).

Longships, galleys, and sailing ships may move through coast hexes to another coast hex or to a sea hex. Troop transports may only move into a coast hex that contains a channel or a port.3

Longships and galleys may beach on any coast hex. Sailing ships do not beach but must anchor offshore; troops debark by rowboat. A troop transport requires a port for docking.

Open Sea

Only sailing ships and troop transports may enter hexes beyond coastal waters. Troop transports straying into open sea lose any galley escort. Ships at this distance from the coast cannot see it. Nor can any shoreline observer see ships so far out.

Rivers

Navigating

Only river boats and longships may navigate rivers. All rivers shown on the strategic map, save one, are navigable. The northeast river is a canal last used by the Greater Ones. Now in disrepair, it falls at three points through cataracts (shown as crossing bars).

River boats and longships may beach on either side of any river hex.

Advanced: Upstream, Downstream

A vessel might move upstream at a slower rate and downstream faster. For example, a river boat might have 30 move points upstream and 42 down.

Advanced: Tide

In complex rules, where we track the tide, a vessel might take advantage of the incoming tide to move faster at a river mouth. Moving with the tide, the move cost is halved, against the tide doubled. Tidal reach varies by river. Though six or 12 miles from the sea is usual, up to 60 miles is possible.

Advanced: River Sailing

Longships and small sailed craft (like sailing boats but not sailing ships) might travel along river ways under sail. Rules for wind are required, however, as it is less frequent, and the river’s navigable channel must be wide enough to allow room for tacking against it.

Crossing

The portion of a river, on the map, where opposite shores are separated by white space is considered major river. Where the river is represented by a single line it is a minor river.

Any move cost to cross a river is in addition to that required to move into the hex. For example, infantry (12 daily move points), moving one morning into a clear terrain hex with a minor river crossing their path at a ford, spends 6 move points into the hex and 6 more points to ford the river. The unit makes camp on the opposite shore.

A force crossing a river by any means other than a bridge is considered unformed. The times required for the crossing below include reforming the troops.

Bridges: All arms may cross bridges at full speed—no extra move point cost. Bridges are marked by an arc over the river.

Ferries: Move cost for ferry crossings depends on the river category, described below. Ferries are marked by two dots, one either side of the river.

Fords: As these are navigable rivers, any ford is at least three feet deep but not more than four. These are sensitive to rainy periods. (A later article covers the effects of weather.) Move cost to ford a river depends on its category, described below. Fords are marked by two carets, one either side of the river, pointing to the ford.

Major Rivers

To cross a major river without bridge or ferry, a unit’s only recourse is to build rafts. Collecting timber, building rafts, and crossing require three full days—one day per activity. During the first two days—collecting timber and building rafts—the force is considered formed, but if attacked defends with only one-third its force. In any other than forest or swamp, throw a dice at the end of the first day. A roll of 1-4 reveals insufficient timber. The unit, having lost one day, cannot cross in this hex. Attempt to collect timber in the elven forest at your peril.

Ferries: All arms cross a major river by ferry in two days.

Strategic Movement
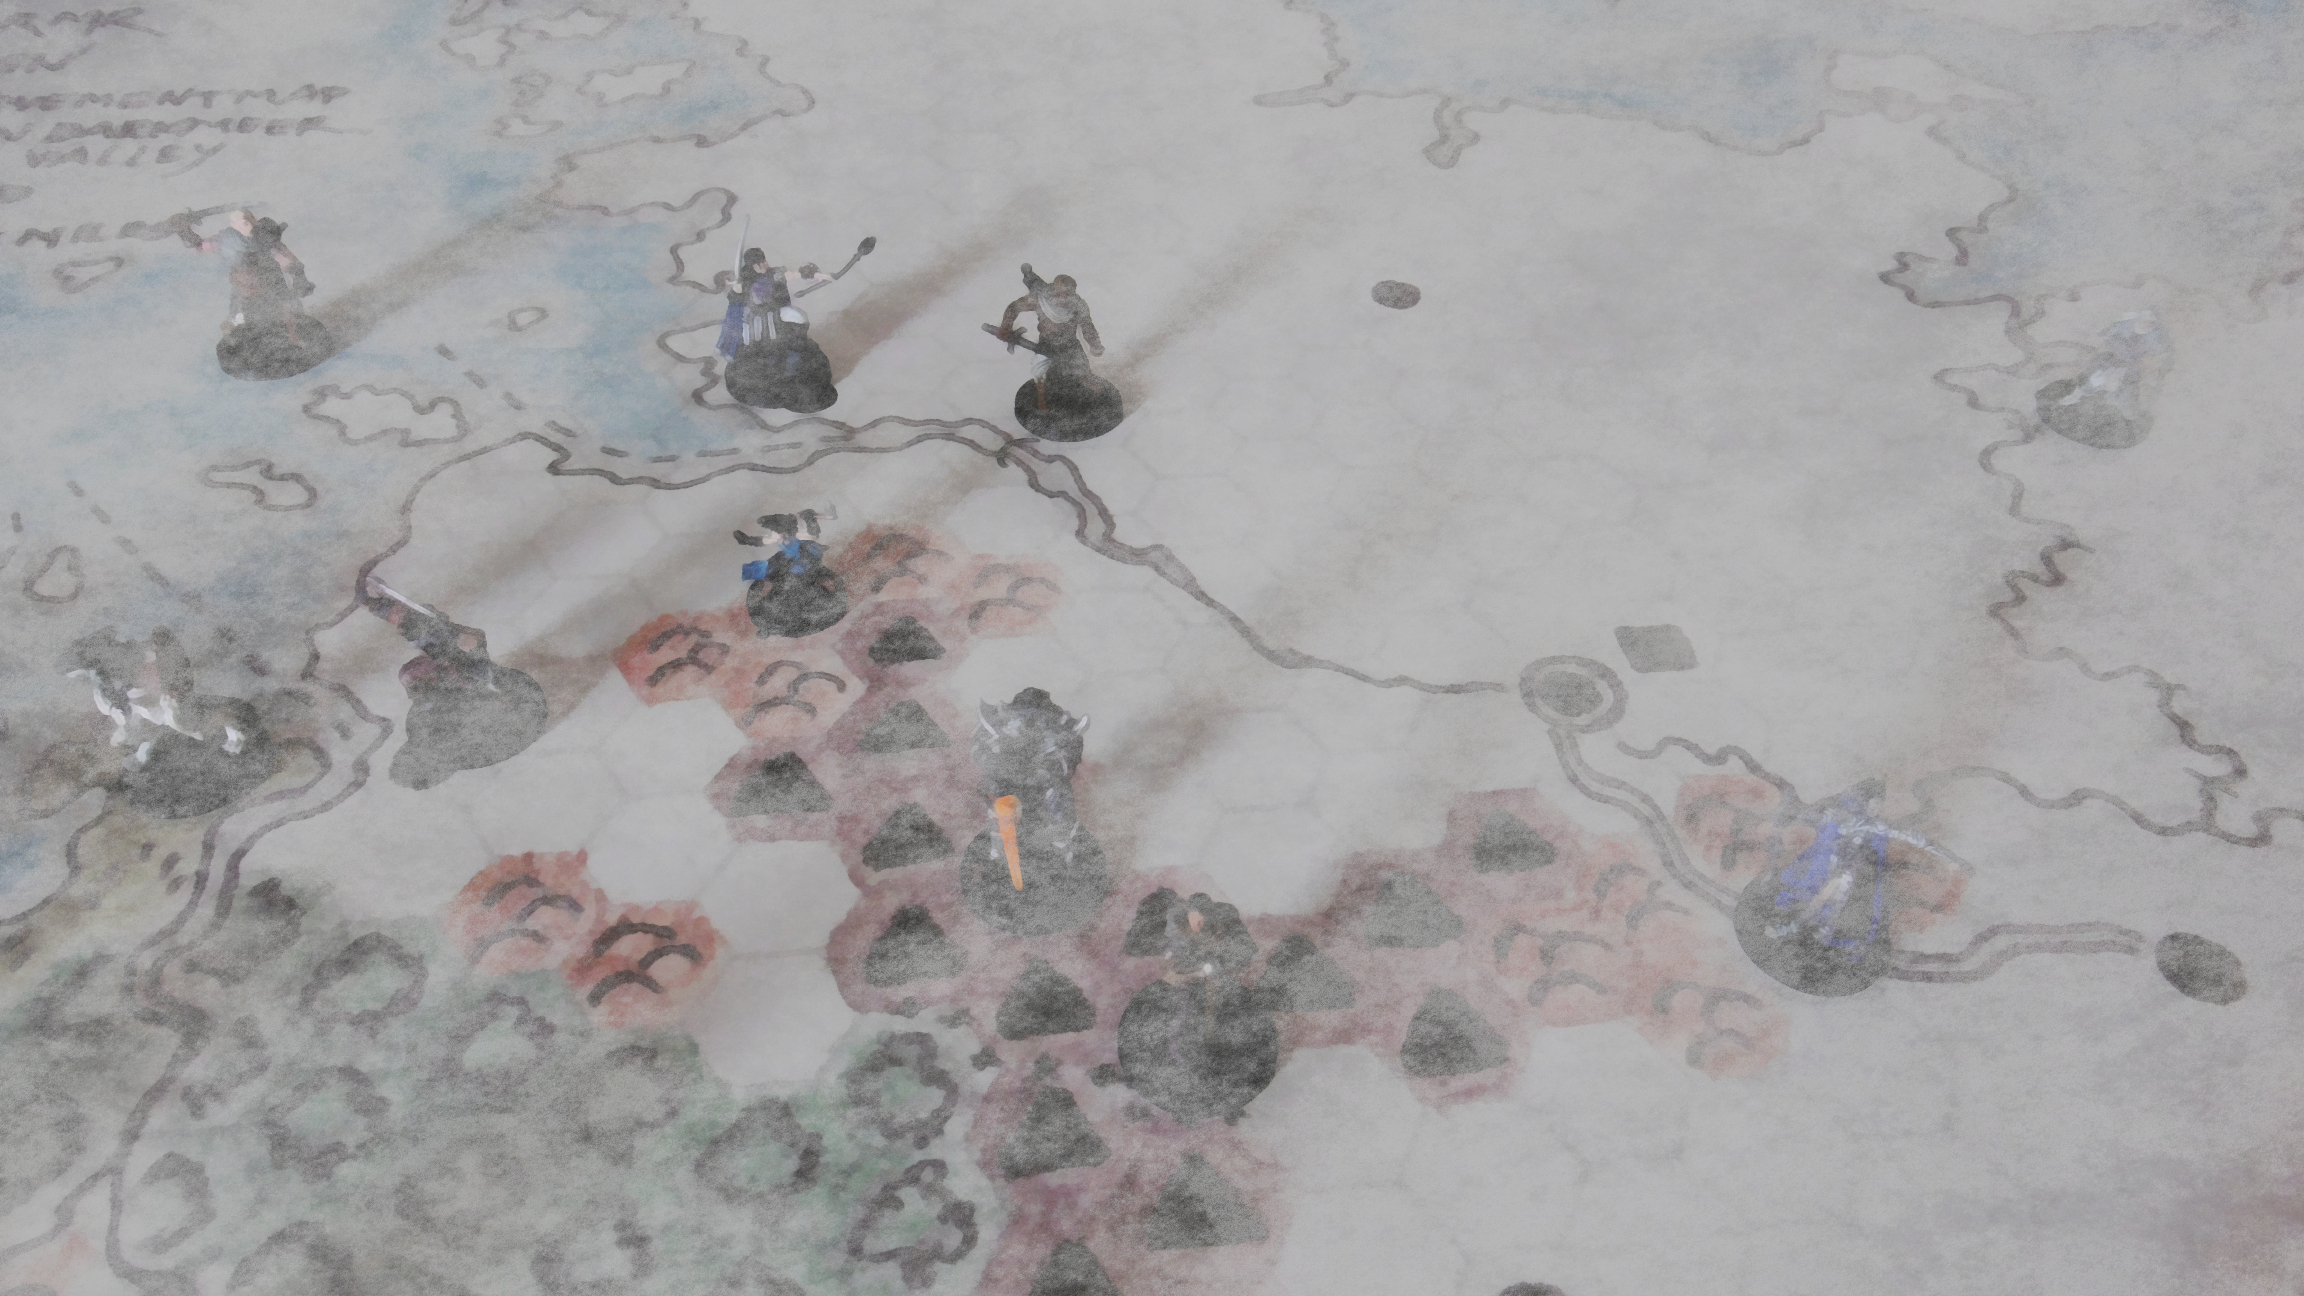
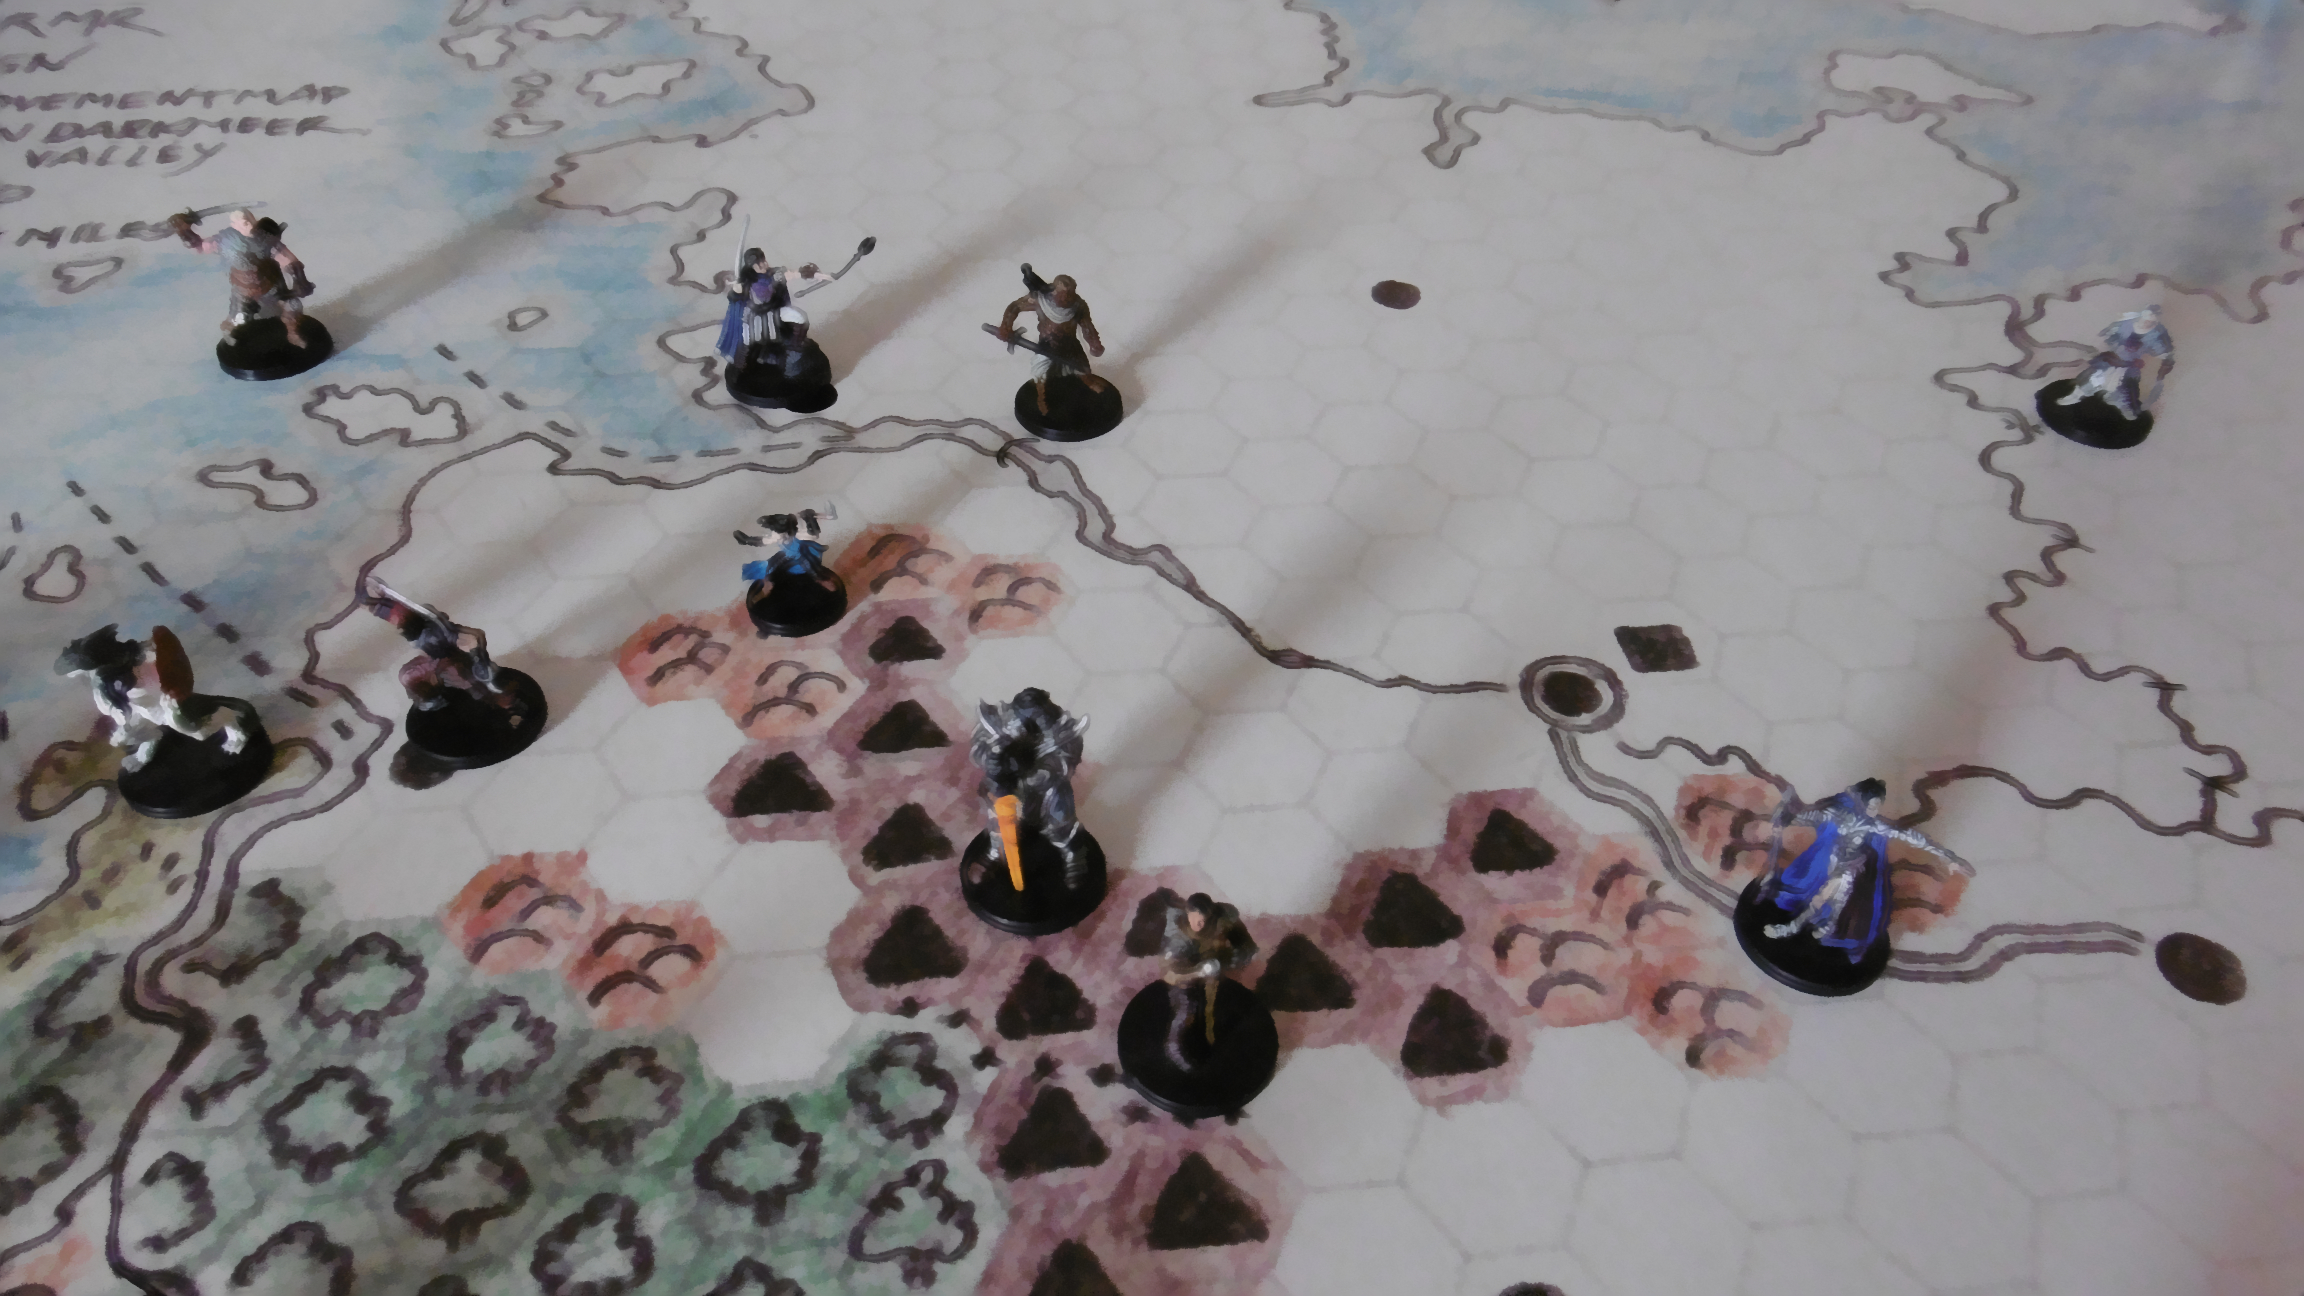
Arn approaches a bridge (upper middle), Mordred takes a mountain track (lower middle), Ingegerd travels by road (lower right), and farender mercenaries wade a ford (upper right).
Minor Rivers

Cavalry may cross a minor river without bridge, ford, or ferry, consuming 50% of its daily move points. Infantry may build rafts as in crossing a major river above.

Ferries: All arms cross a minor river by ferry in one day.

Fords: Cavalry crosses a ford on a minor river at full speed, while infantry uses 50% its daily move points.

Advanced: Engineers

Bath mentions a “bridging train” that allows major river crossings (66). In the advanced game, engineer trains might perform other tasks as well, including building bridges, siege engines (also mentioned, 66), and roads.


Notes

1 Rules for unformed units are properly part of a more complex game. In the present scenario, I want orcs and gnolls to be able to travel through mountains, so I include these rules. Still, as the disadvantages are great, a commander is advised to choose routes where units may move in formation.

2 A half-dice is the result of a dice throw divided by two rounded up.

3 Troop transports, converted from large sailing ships, may not hug coastlines due to a 10-foot draft.

Download the Valormr Strategic Map

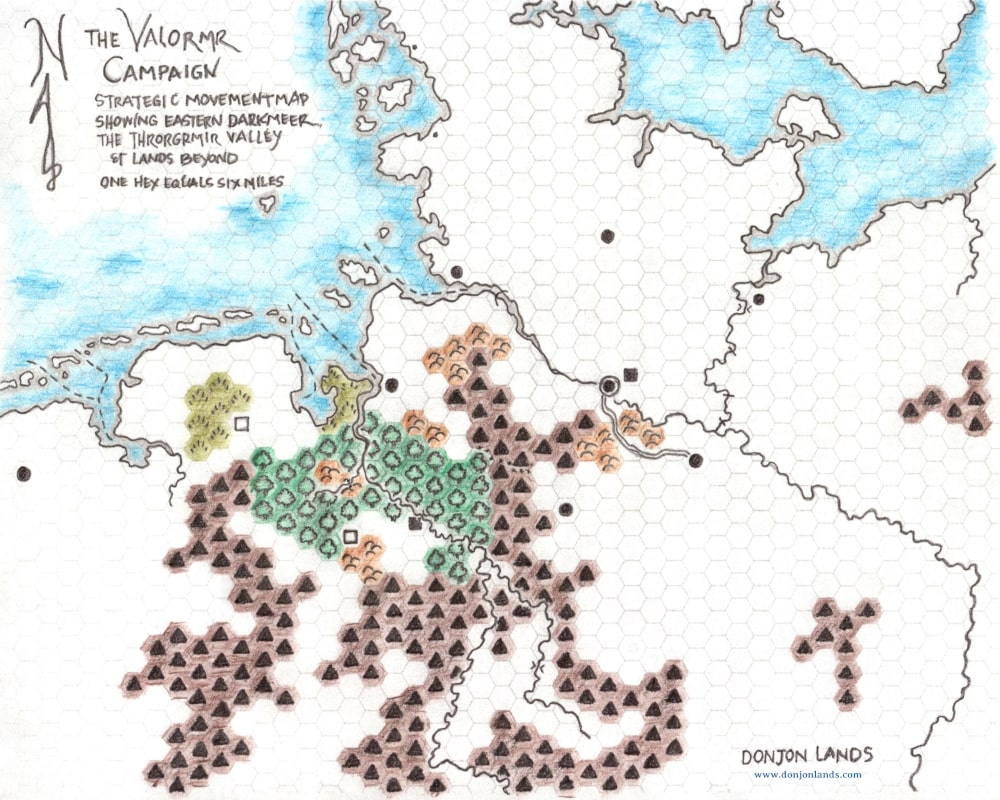
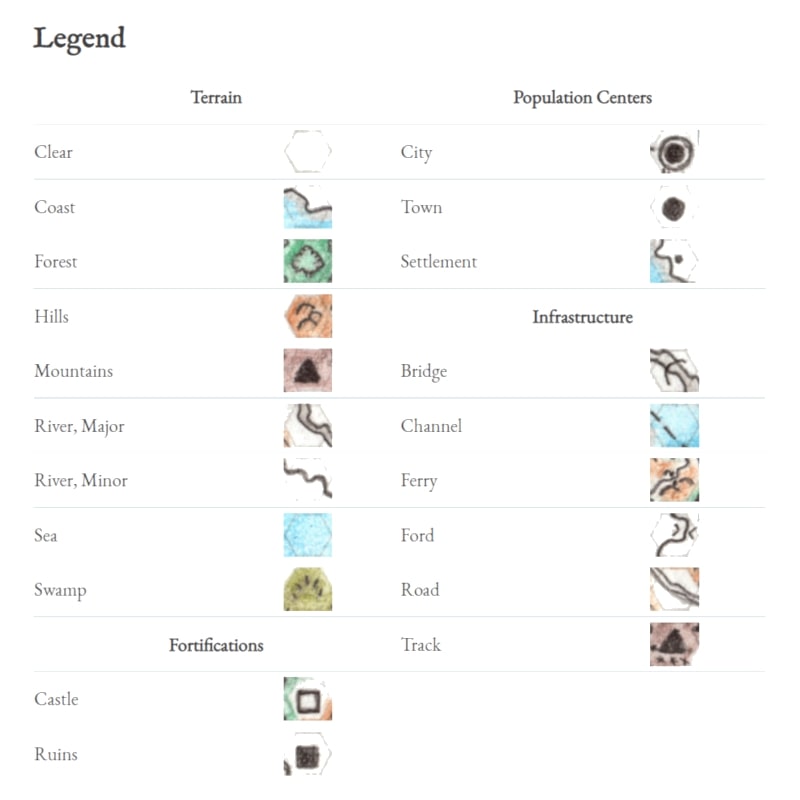
With the strategic movement rules almost ready, I added a few refinements to the Valormr Campaign Strategic Movement Map: two towns, cataracts, fords, a ferry, and a bridge. I updated the map in the original article. I also appended a legend. The map in higher resolutions, 100, 300, and 600 dpi, is available on the Downloads page.

The Valormr Campaign Strategic Movement MapLegend
The Valormr Campaign Strategic Movement Map and Legend.

Waterborne Transport

Strategic Movement

This is the third of five articles, which discuss strategic movement in the Valormr Campaign.

Move Rates

The following table is reproduced, for convenience, from “Overland Travel.” Move rates are expressed as a number of points, one point equaling one mile. The points given here are for one day of travel. A unit spends these points to move into a hex.

Force Type Move Points
Ground Troops†
Infantry 12
Cavalry 24
Special
Courrier* 48
Waterborne Transport
Galley 18/72**‡
Longship 18/90**‡
River Boat 36
Sailing Ship 90‡

Troop Transport

72‡

† Details on ground movement are given in the previous article.
* A lone rider; includes such individuals as spies and scouts.
** Rowed/sailed.
‡ Under sail, ships move during both the day and night periods of a turn.

Transporting Figures: Ships carry a number of figures,1 as noted below, plus any number of individual figures, such as heroes, wizards, leaders, and couriers. An army may be transported one regiment at a time but not in smaller units. This means a number of vessels to carry at least one regiment must be purchased.

Night Movement: As ships under sail move throughout a 24-hour period, their daily move points include travel during both the day and night periods of the turn. When necessary to know a ship’s location in the evening, assume it has consumed half its daily move points.

Debarkation: An army does not move until all regiments are assembled at the port of debarkation. To make way for other armies to embark or debark, the commander figure, awaiting regiments in transport, may move one hex off the port hex. While so waiting, a unit is considered formed, though, if attacked, may only bring to bear the present portion of its force.

Strategic Movement
With three regiments of six figures each, Northmen embark the entire force on nine longships. At East Port, the Prince of Aeskrvald embarks a regiment of 27 figures on nine troop transports, which cost 27 points plus 4 points for a galley escort.

Waterborne Vessels

Galley: Equipped with a ram and two light catapults, a galley moves as fast as a troop transport and may escort a fleet—to fend off lizard men going into Skullhaven, for example. For effective defense, one galley per regiment transported is required. As its marines are necessary to its mission, a galley cannot transport troops.2

Figure Capacity: —       Cost: 4

Longship: The Northmen sail their longships on the sea and row them in rivers. Northmen have enough longships to transport themselves. They do not pay army points for them, and no other army may buy longships.

Figure Capacity: 2       Cost: —

River Boat: These small boats may travel only on rivers. Due to limited carrying capacity (10 men), four river boats are required to move one figure.

Figure Capacity: ¼       Cost: ¼

Sailing Ship: Sailing ships are used by pirates, who do not pay army points for them. A sailing ship may be outfitted with one light catapult (additional cost: ¼). All pirate ships are so equipped.2

Figure Capacity: ½       Cost: ¾

Troop Transport: A troop transport is a seagoing vessel. In our simple campaign, we ignore any time required for embarkation and debarkation as well as the state of the tide. As a troop transport may travel in the night, once a unit is embarked, some part of the day may remain, plus all the night, for the voyage. Reduce the transport’s move points by 25% or 50% accordingly. Unlike those aboard longships or river boats, figures moving by troop transport are not crew. A full day in transport is, therefore, considered a day of rest.2

Figure Capacity: 3       Cost: 3

Advanced: Embarkation and Debarkation

Some amount of time is required to embark and debark troops. In addition, a departing ship must await a favorable tide. Without creating tide tables (or applying historical tables to the game world), we assume, in the advanced game, a seagoing ship waits six hours—that is, one-quarter a sailing ship’s move points or half that of a rowed vessel—during which time embarkation is effected. Debarkation may require half the time. Embarkation and debarkation at any point other than a port cost half daily move points of the unit (not the vessel). Still a simplification. Within the operation exists much room for complexity.


Notes

1 Valormr scale figures are 1:40. Convert as appropriate.

2 If you’re following along in B/X, the escort galley, here, is a large galley with armaments, the sailing ship is small, and the troop transport is converted from a large sailing ship.

Overland Travel

Strategic Movement

This is the second of five articles, which discuss strategic movement in the Valormr Campaign.

Move Rates

Move rates are expressed as a number of points, one point equaling one mile. The points given here are for one day of travel. A unit spends these points to move into a hex.

Force Type Move Points
Ground Troops
Infantry 12
Cavalry 24
Special
Courrier* 48
Waterborne Transport†
Galley 18/72**‡
Longship 18/90**‡
River Boat 36
Sailing Ship 90‡

Troop Transport

72‡

* A lone rider; includes such individuals as spies and scouts.
† Details on waterborne transport are given in an upcoming article.
** Rowed/sailed.
‡ Under sail, ships move during both the day and night periods of a turn.

Daily Rest: One period (or two half periods) of rest is required to recover full daily move points. At the end of the first half period of rest, half daily move points are recovered. A force may rest and move in half periods, that is, rest-move-rest-move, for up to two periods, before requiring two consecutive half periods of rest or be fatigued.

Weekly Rest: A unit can move up to six consecutive days. It must rest one full day of every seven.

Forced March: A unit may take an additional 50% of its daily move points, thereby moving half again as far. The unit must rest the following day or be fatigued.

Fatigued: A fatigued unit subtracts 25% from its daily move points (drop fractions). If the unit becomes engaged in battle, it is fatigued as per Chainmail (11). If it then performs combat actions that would normally make it fatigued, the effects are doubled. A fatigued unit must rest one full day to recover from the effects.

Strategic Movement
Northmen, in longships, sail from their coastal farmsteads to the mouth of the Grunnthraesir in a single day, while orcs and humans move into only one mountain hex.

Ground Troops

Humanoid Creatures

Infantry: Humanoids who march in formation are classed as infantry. Humans, orcs, elves, halfolk, gnolls, goblins, etc. all move at the same daily rate.

Cavalry: The only cavalry in the campaign are dwarven boar riders, orc rhino riders (both giant), and a single company of horsed mercenaries from far eastern lands.

Cavalry-Grade Horses

The campaign takes place in the early iron age on the DONJON LANDS time line. Horses in the region are not yet bred large enough to bear the weight of an armored rider and of the temperament required to do so in battle—our exercise of Chainmail’s Jousting rules notwithstanding.

Individual Fantastic Creatures

For creatures which do not move in formation, find the number of miles they travel per day in your favorite source.1 Convert miles, one for one, to movement points. Best to round up or down to the nearest multiple of six.

Special

Courier: Any commander figure can send a courier, which is assumed to be a lone rider. A courier costs no points. Its movement is tracked on the strategic map. A courier may move through and stop in a hex occupied by any friendly figure. A courier passing through an enemy occupied hex escapes on a dice roll of 4 or more. Stopping in such a hex requires a dice roll of 6 to avoid capture. A courier may be transported aboard a waterborne vessel but may not take a horse on a river boat.

Nocturnal Movement

Many fantastic creatures, including gnolls and lizard men, see in the dark as well as light (Chainmail, 43). These creatures may move and attack at night, resting during daylight hours. Often, they rather move at night to gain advantage over light-sighted enemies. Goblins, kobolds, and orcs, who suffer in sunlight, always choose nocturnal activity.

Light-sighted creatures, such as humans, may move on the strategic map during the night with the following limitations:

  • Cost: The cost is twice normal move points per hex and per any river crossing operation.
  • Terrain: Permitted only into clear terrain hexes or on a road into any terrain hex.

Notes

1 For move rates in the Valormr Campaign I use B/X so to align with Wyrmwyrd.